Advanced Folder Upload
Batch upload multiple materials using a structured folder hierarchy.
The advanced folder upload method allows you to upload many materials at once by organizing them in a specific folder structure. This is ideal for bulk uploads of entire material collections.
🚀 Upload Process
- Navigate to the Upload Page on Chrome - Go to the upload materials page in your dashboard https://app.orbital.vision/material-upload and select the Advanced Upload tab
- Select Folder on Chrome - Use the folder picker to select your structured folder
- Validate Structure - The system will automatically validate your folder structure
- Upload & Process - Once validated, upload your materials for processing
- Manage Materials - Once uploaded, you should see your new materials at https://app.orbital.vision/all-materials where you can view the setup status of / delete your materials.
💡 Important: OV25 materials can have up to 6 maps but require at least a color map. A color map is just an image of the material in full color.
🎨 Supported Map Types
- COL (Color Map) - Required - The main material texture in full color
- NRM (Normal Map) - Surface detail and bump mapping
- ROUGH (Roughness Map) - Surface roughness and micro-surface detail
- SPEC (Specular Map) - Specular intensity and reflectivity
- ALPHA (Alpha Map) - Transparency and opacity
- DISP (Displacement Map) - Height-based surface displacement
These additional maps can either be specific to every single color map, or can be used for a whole range of color maps. This is defined by the folder structure you create.
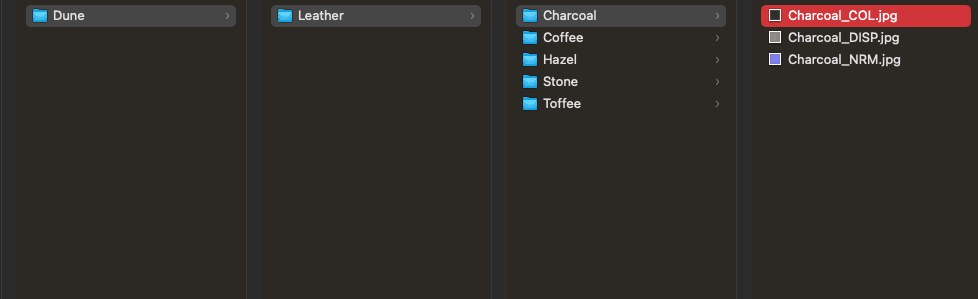
📄 Naming files
The file name must include the map name at some point in the file, such as ALPHA or DISP (e.g. material1NRM.jpg). This does not apply to the color variations when using the shared structure, in which case
the file should be named the desired material name.
🎯 The simplest upload structure possible
For the most basic upload, you only need a color map for each material. Create a folder structure where:
- Root folder = Your material range name (e.g., "Plush")
- Sub folder = Material type (e.g., "velvet", "wood", "wool")
- Individual files = Color images named after each material
Each material needs just one image - the full-color texture map.
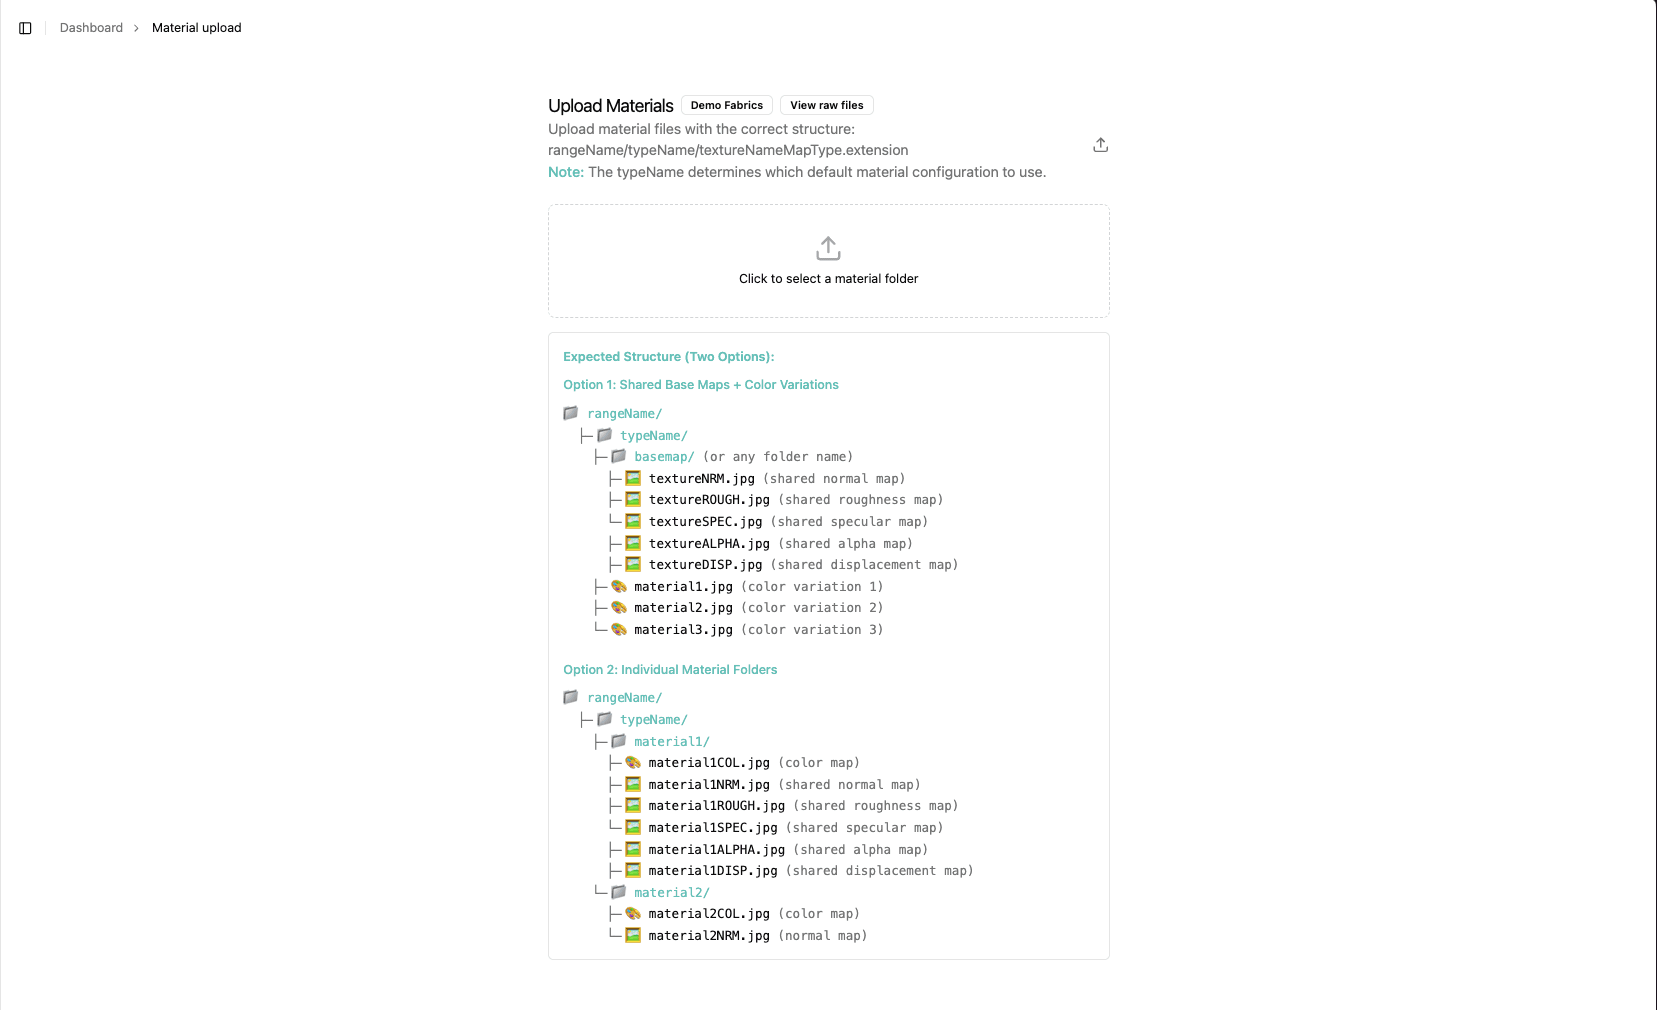
📁 File Structure Requirements
You have two ways of structuring your files before upload, and the platform is strict in requiring this exact structure:
Option 1: Shared Base Maps + Color Variations

This structure is ideal when you have multiple color variations that share the same surface properties (normal, roughness, specular, etc.).
Option 2: Individual Material Folders
This structure is ideal when each material has unique surface properties or when you want maximum control over individual materials.
⚠️ Important Notes
- The
typeNamedetermines which default material configuration to use - File extensions should be
.jpg,.jpeg,.png, or.webp - All map types are optional except for the color map (COL)
- Folder and file names are case-sensitive
- The platform will validate your structure before allowing upload
You're good to go and move on to building materials in 3D