Using the material builder
Transform your uploaded images into realistic 3D materials.
📋 Overview
The material builder is a tool for turning flat images into three d materials with depth, texture and surface effects. You will need to upload materials before you can start on this page.
On this page we will cover using a default material, changing objects, changing texture maps, adjusting material properties and finally saving the materials.
🎨 Default Materials
We have setup some default materials for you to select from if you want to get started with a template select one of the default materials from the dropdown.
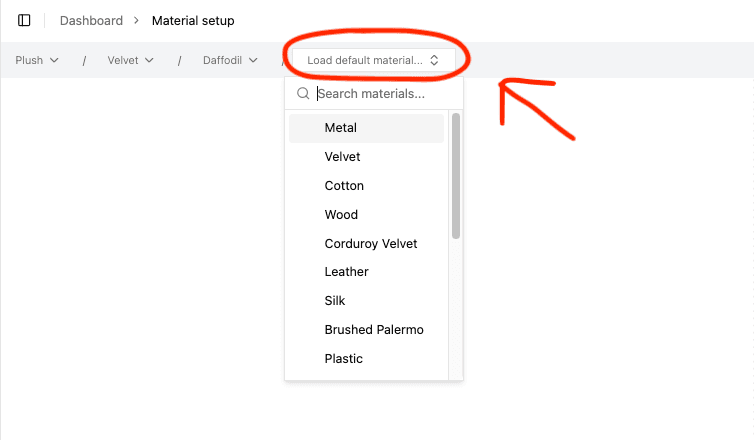
Here we have the velvet default material selected, and as you can see its loaded in some maps and material settings
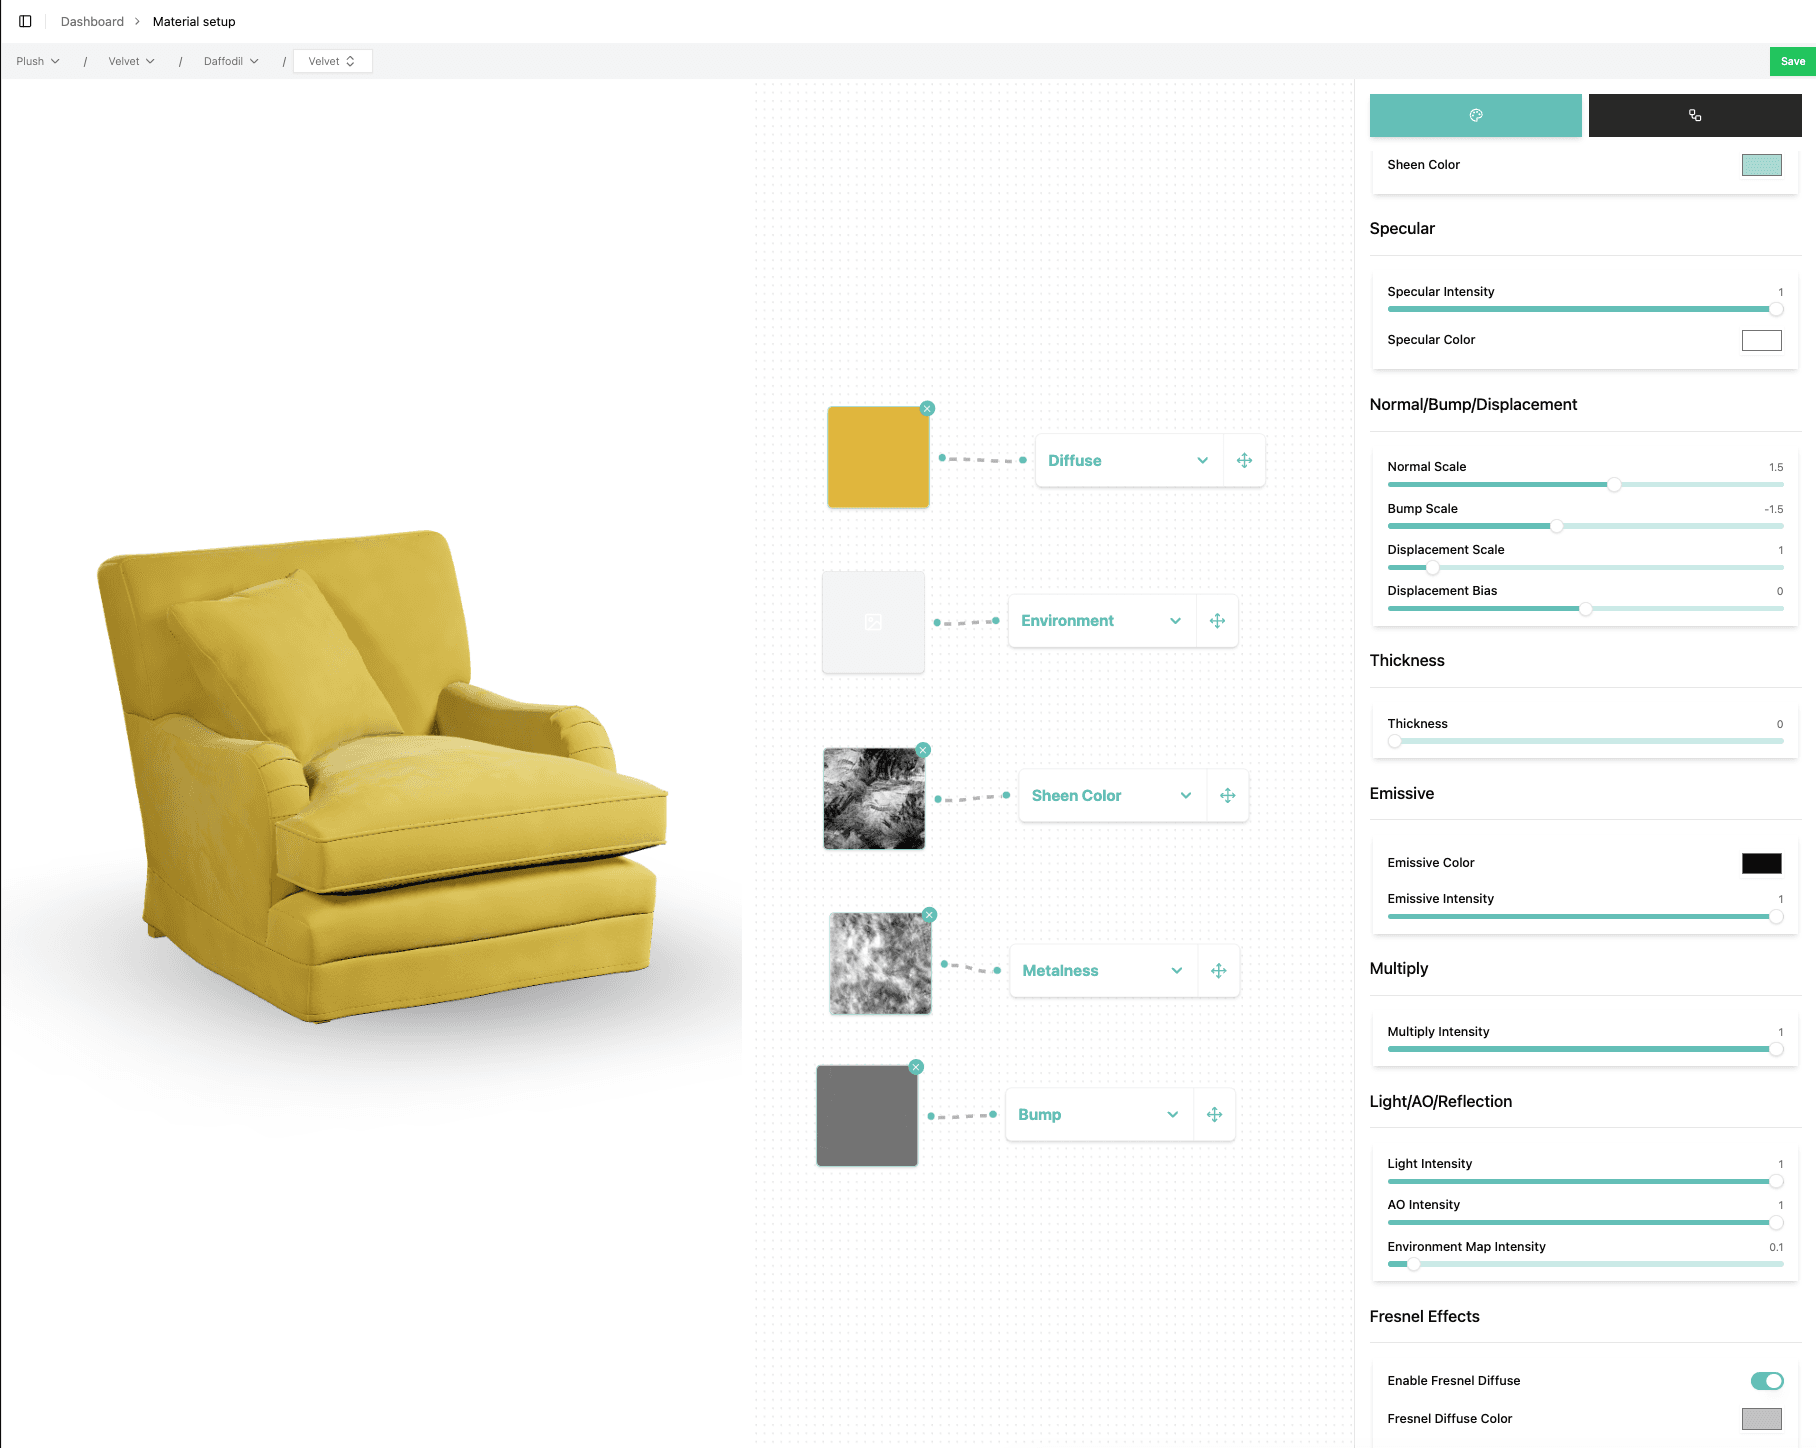
You can see three horizontal sections in theabove image:
- Material Preview: A 3d model with the material covering it, this model can be swapped on the far right menu
- Node based map editor, a node based editor for working with the maps/images provided to build the material
- Material settings / Model select. There are two tabs on this menu, one for selecting different 3d models, and one for adjusting the material settings.
👁️ Material Preview
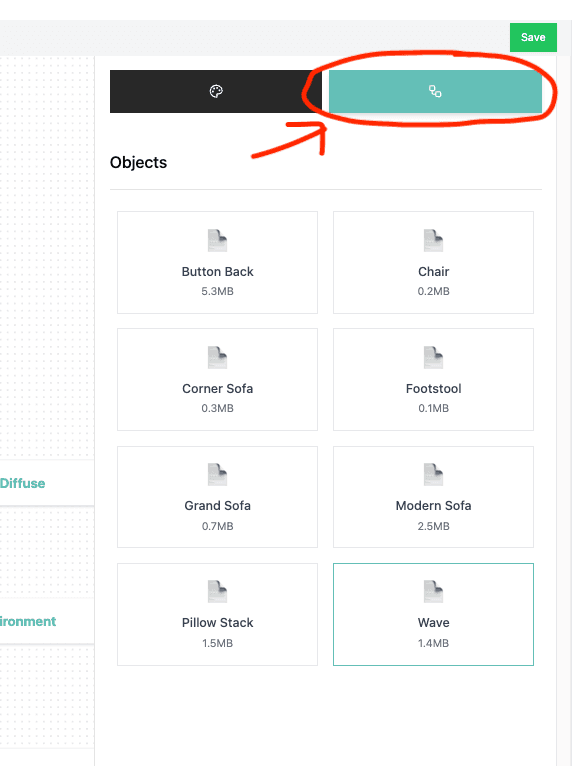
The 3D viewer in the above image can be moved around by dragging and scrolling for zoom. ON the far righ menu, select the object tab to change the 3d model that is loaded.

🔗 Node based map editor
The middle menu is a node based editor that allows you to use the maps you uplpoaded for the material, and plug those maps into different 3d rendering effects. Here we can see the velvet material pulled in the uploaded diffuse, sheen, metalness and bump maps.
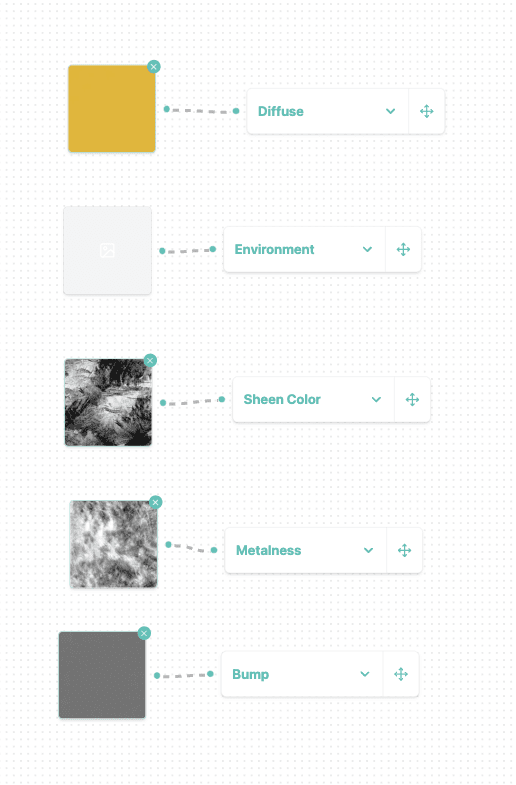
Right click to add either a map node, or a map apply node.
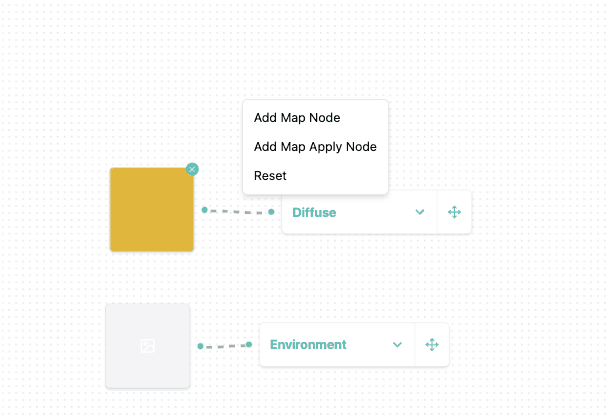
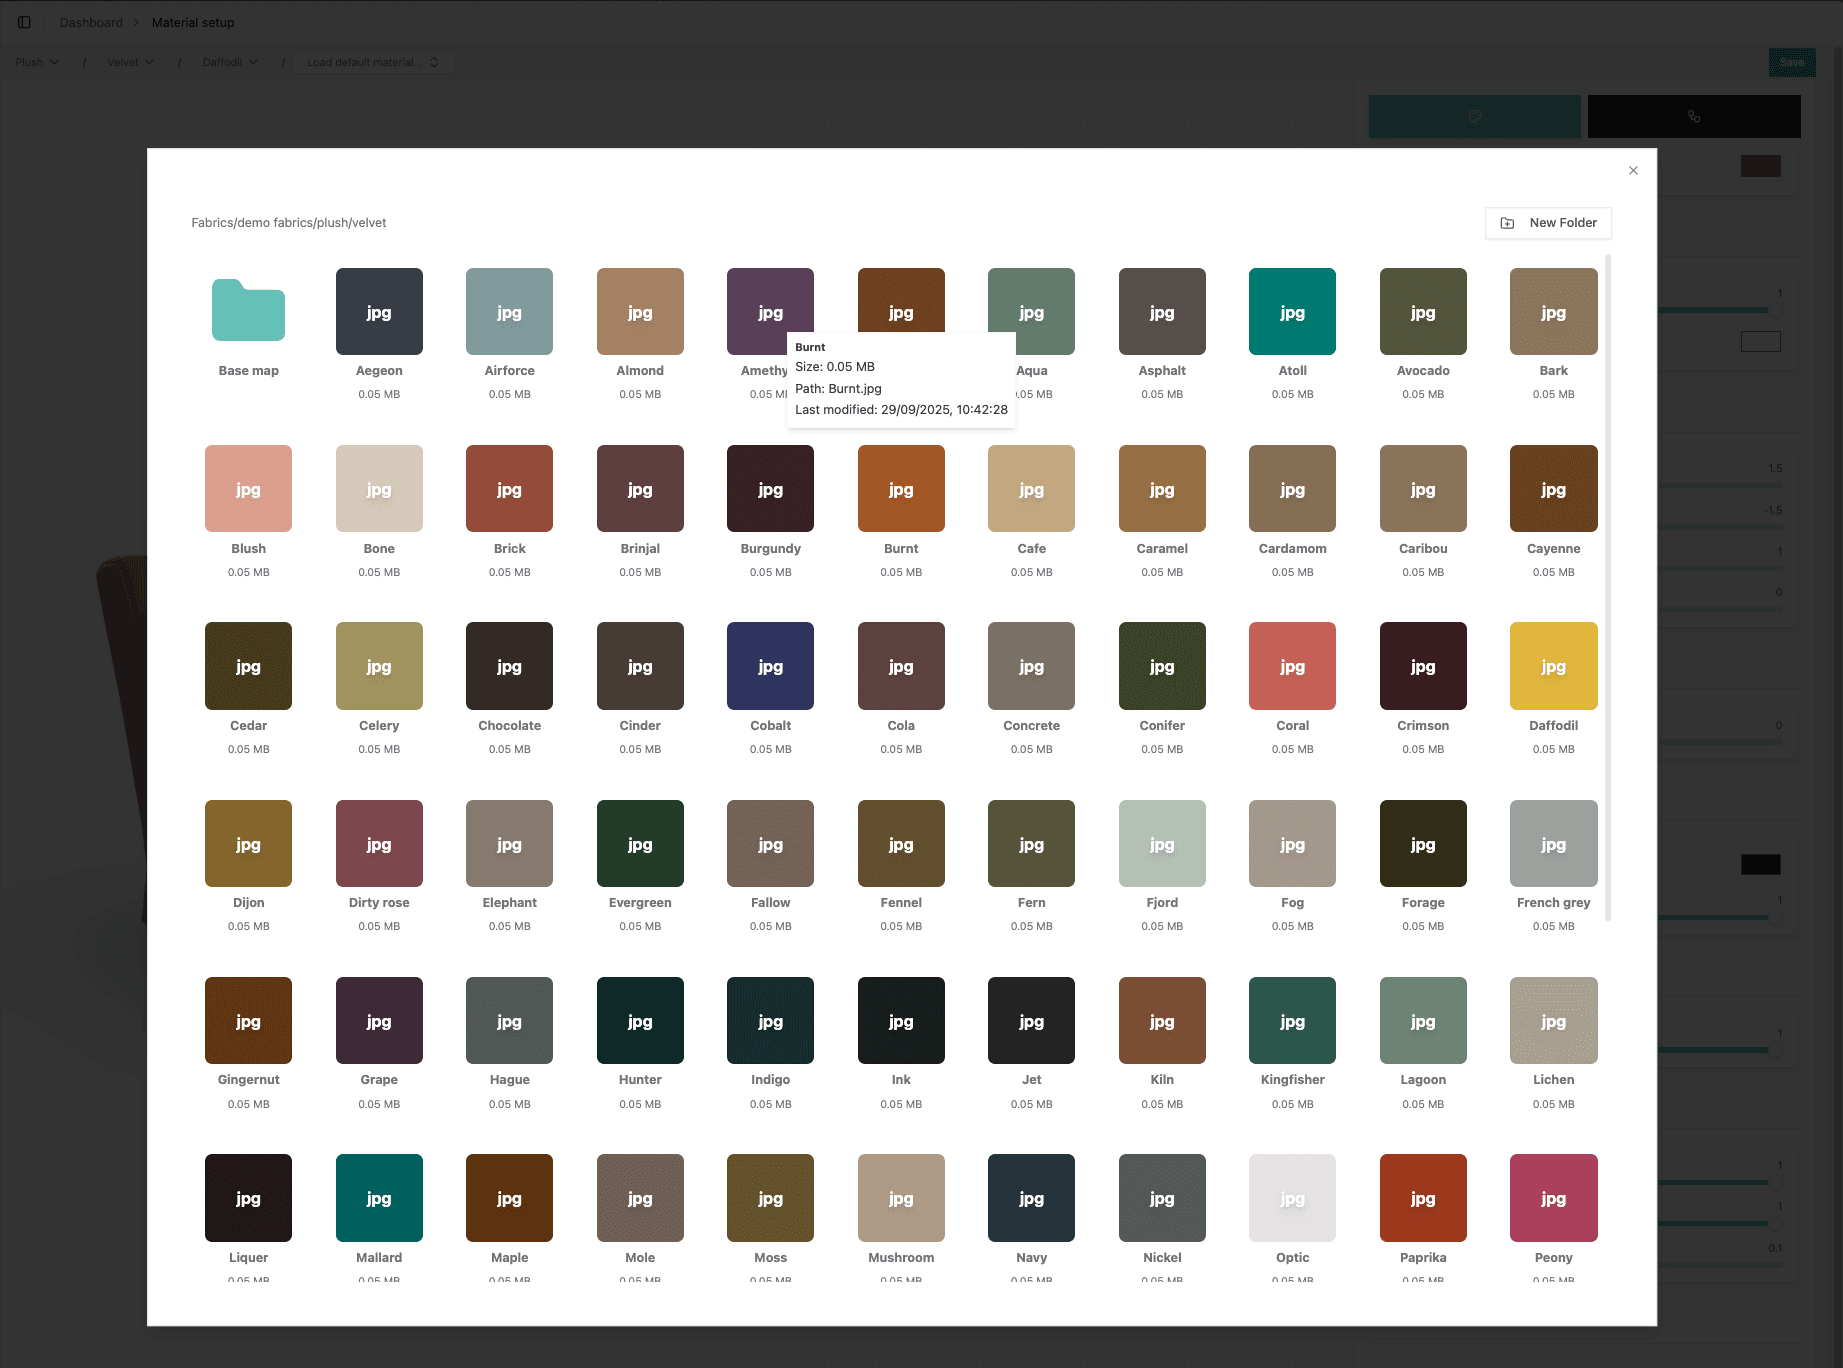
Once you have added a map node, you can click it to bring up the map selector menu
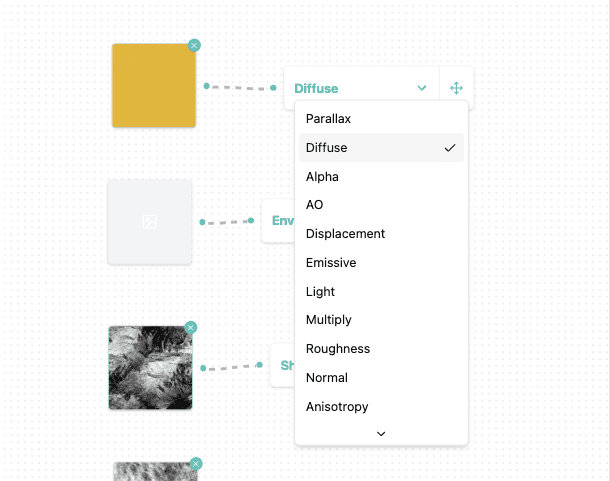
Or if you added a map apply node you can scroll the drop down menu to select what you want to apply the texture to
You can then use the node handles to drag and connect maps to map apply nodes.
🗺️ All Maps
- 🎨 Diffuse Map: The base color texture that defines the main appearance of the material.
- 👻 Alpha Map: Controls transparency - white areas are opaque, black areas are transparent.
- 🌑 AO Map: Ambient occlusion map that adds realistic shadowing in crevices and corners.
- 🏔️ Bump Map: Grayscale texture that simulates surface height variations without changing geometry.
- 📐 Displacement Map: Actually moves geometry vertices to create real surface deformation.
- 💡 Emissive Map: Makes parts of the material appear to glow or emit light.
- ☀️ Light Map: Pre-baked lighting information that adds realistic light and shadow effects.
- ⚡ Metalness Map: Controls which parts of the material behave like metal (white) or dielectric (black).
- 🔧 Roughness Map: Defines surface roughness variation - white areas are rough, black areas are smooth.
- 🏔️ Normal Map: Adds surface detail by simulating bumps and indentations without changing geometry.
- 🌊 Anisotropy Map: Controls the direction and strength of anisotropic reflections.
- ✨ Clearcoat Normal Map: Normal map specifically for the clearcoat layer.
- ✨ Clearcoat Map: Controls the strength of the clearcoat effect across the surface.
- 🔧 Clearcoat Roughness Map: Defines roughness variation for the clearcoat layer.
- 🌈 Iridescence Map: Controls the strength of iridescent effects across the surface.
- 📏 Iridescence Thickness Map: Defines the thickness of the thin film layer for iridescence.
- 💎 Sheen Roughness Map: Controls the roughness of the sheen effect.
- 💎 Sheen Color Map: Defines the color variation of the sheen effect.
- ⚡ Specular Intensity Map: Controls the intensity of specular reflections across the surface.
- ⚡ Specular Color Map: Defines the color of specular reflections.
- 📏 Thickness Map: Controls material thickness for subsurface scattering effects.
- 🔍 Transmission Map: Defines which parts of the material are transparent or translucent.
- 🌍 Environment Map: The environment texture used for reflections on the material surface.
⚙️ Material settings menu
The material settings is where you tweak how the material blah blah, and how the maps effect the material
🎯 Surface Properties
- Color: Tints the base color of the material.
- Diffuse & Alpha Maps: Slots for the base color and transparency maps, each with a DPI slider that controls how the map tiles across the object.
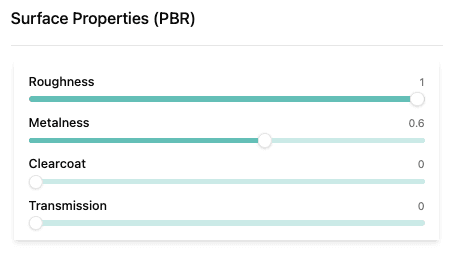
⚙️ Metalness/Roughness
- Roughness: Controls how rough or smooth the surface appears. Lower values create mirror-like reflections, while higher values create diffuse, matte surfaces.
- Metalness: Determines if the material behaves like a metal (1.0) or dielectric (0.0). Metals have no diffuse color and reflect the environment.
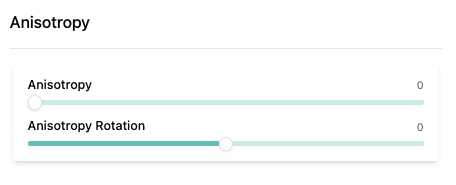
🌊 Anisotropy
- Anisotropy: Creates directional reflections that are stronger in one direction than another, useful for simulating brushed metals or hair.
- Anisotropy Rotation: Rotates the direction of the anisotropic reflections around the surface normal.
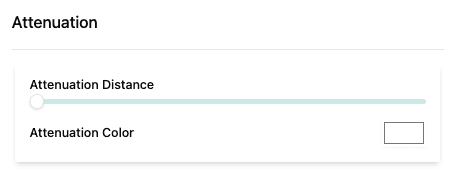
📉 Attenuation
- Attenuation Distance: Controls how far light travels through the material before being absorbed, affecting the depth of subsurface scattering.
- Attenuation Color: The color that light becomes as it travels through the material, creating realistic color shifts in translucent materials.
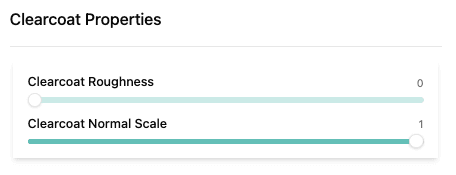
✨ Clearcoat Properties
- Clearcoat: Adds a thin transparent layer on top of the material, useful for simulating car paint or coated surfaces.
- Clearcoat Roughness: Controls the roughness of the clearcoat layer, affecting how sharp or blurred the clearcoat reflections appear.
- Clearcoat Normal Scale: Scales the normal map effect on the clearcoat layer, adding surface detail to the coating.
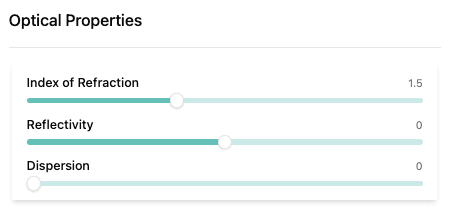
🔍 Optical Properties
- Index of Refraction: Controls how much light bends when entering the material, affecting the strength of reflections and refractions.
- Reflectivity: Sets the base reflectivity of the material, independent of the fresnel effect.
- Dispersion: Creates chromatic aberration effects where different wavelengths of light refract at slightly different angles.
- Transmission: Controls how much light passes through the material, creating transparency effects.
🧊 Glass
- Opacity: Controls the overall transparency of the material.
- Depth write: Toggles whether the material writes to the depth buffer, useful for fixing render-order issues on transparent materials.
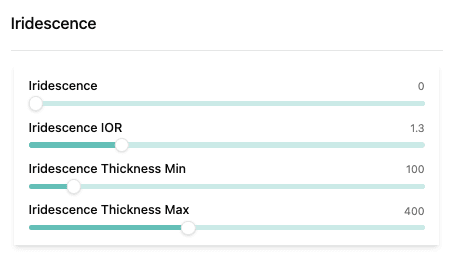
🌈 Iridescence
- Iridescence: Creates rainbow-like color shifts that change based on viewing angle, simulating thin film interference effects.
- Iridescence IOR: The index of refraction for the thin film layer that creates the iridescent effect.
- Iridescence Thickness Min: The minimum thickness of the thin film layer.
- Iridescence Thickness Max: The maximum thickness of the thin film layer.
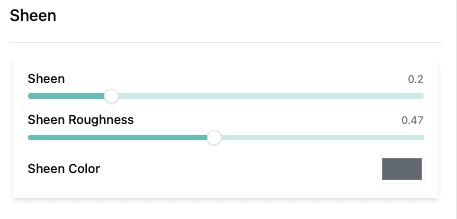
💎 Sheen
- Sheen: Adds a secondary specular highlight that's most visible at grazing angles, useful for fabrics and cloth materials.
- Sheen Roughness: Controls the size and sharpness of the sheen highlight.
- Sheen Color: The color tint of the sheen effect.
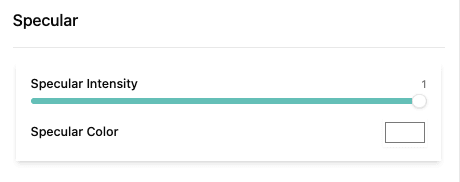
⚡ Specular
- Specular Intensity: Controls the strength of the specular reflections on the material surface.
- Specular Color: Tints the specular reflections with a specific color.
🏔️ Normal, Bump & Displacement
- Normal Scale: Controls the intensity of the normal map effect, adding surface detail without changing geometry.
- Bump Scale: Similar to normal scale but uses grayscale bump maps to simulate surface height variations.
- Displacement Scale: Actually moves the geometry vertices based on the displacement map, creating real surface deformation.
- Displacement Bias: Offsets the displacement effect, useful for fine-tuning the displacement range.

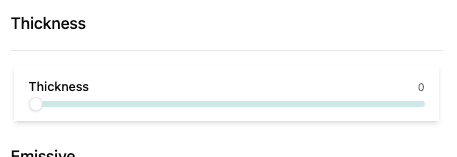
📏 Thickness
- Thickness: Controls the thickness of the material for subsurface scattering effects, affecting how light penetrates and scatters within the material.
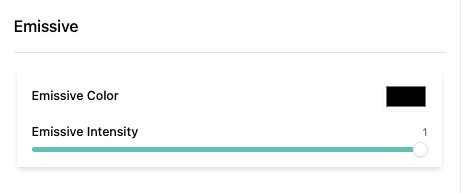
💡 Emissive
- Emissive Color: The color that the material emits, making it appear to glow or be self-illuminated.
- Emissive Intensity: Controls the brightness of the emissive effect.
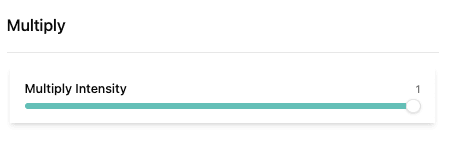
✖️ Multiply
- ✖️ Multiply Intensity: Controls how strongly the multiply map darkens the material. At 0, the multiply map has no effect. At 1, the multiply map's red channel fully multiplies with the diffuse color, darkening areas based on the map values.
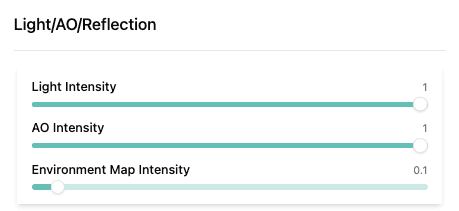
💡 Light, AO & Reflection
- Light Intensity: Controls the overall brightness of the lighting in the material preview.
- AO Intensity: Controls the strength of ambient occlusion effects, adding depth and shadowing to crevices and corners.
- Environment Map Intensity: Adjusts the strength of environment reflections on the material surface.
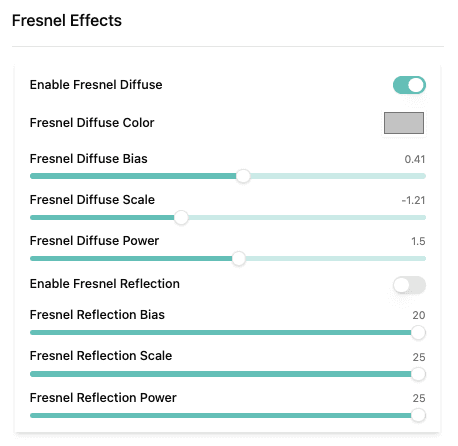
🌊 Fresnel
Diffuse Fresnel - Controls color shifts based on viewing angle:
- 🔘 Fresnel Diffuse: Toggles the diffuse fresnel effect on or off.
- 🎨 Fresnel Diffuse Color: The color that appears at glancing angles when fresnel diffuse is active.
- 📏 Fresnel Diffuse Bias: The minimum fresnel effect strength, shifts the entire fresnel curve up or down.
- 📊 Fresnel Diffuse Scale: Multiplies the fresnel effect strength, controlling how much the effect intensifies.
- ⚡ Fresnel Diffuse Power: Controls the sharpness of the transition between center and edge colors. Higher values create sharper transitions.
- 🔘 Show on backface: Toggles whether the diffuse fresnel effect also appears on the back faces of the material.
Reflection Fresnel - Controls reflection strength based on viewing angle:
- 🔘 Fresnel Reflection: Toggles the reflection fresnel effect on or off.
- 📏 Fresnel Reflection Bias: The minimum reflection strength, adds a base level of reflectivity.
- 📊 Fresnel Reflection Scale: Multiplies the reflection fresnel effect, controlling how much reflections intensify at edges.
- ⚡ Fresnel Reflection Power: Controls how quickly reflections strengthen toward glancing angles. Higher values create more dramatic edge reflections.
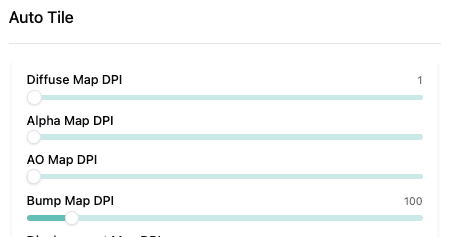
🔄 Map Tiling (DPI)
- Map DPI sliders: Each map slot in the settings menu has a DPI slider next to it that changes how big the map is projected onto the object, and how many times it repeats. If you know the DPI of the image, use that for the most accurate results.
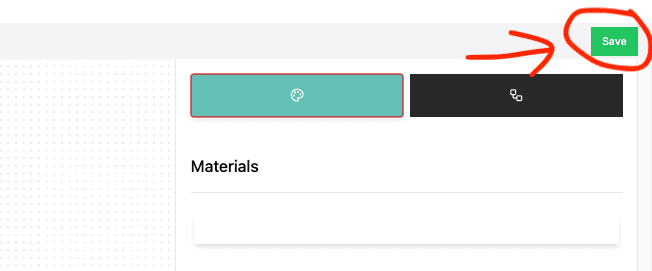
✅ Save your material
In the top right you will see a save button:
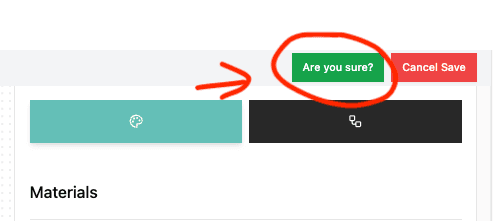
Click it and a confirnmation will appear in its place, click the green button to Continue:
On successful save, a green message will appear at the top of the screen:
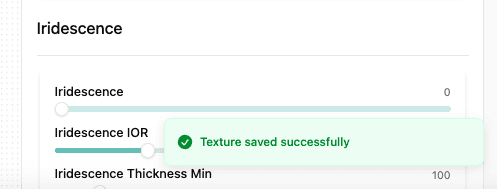
You're good to go and move on to rendering materials onto a scene