🎨 Creating Cutouts
Use the cutout studio to generate your final fabric renders
If you have built at least one material built and purchased at least one material shot, you're ready to create a cutout studio job and generate your first renders.
Step 1: Navigate to Cutout Studio
Go to https://app.orbital.vision/cutout-studio
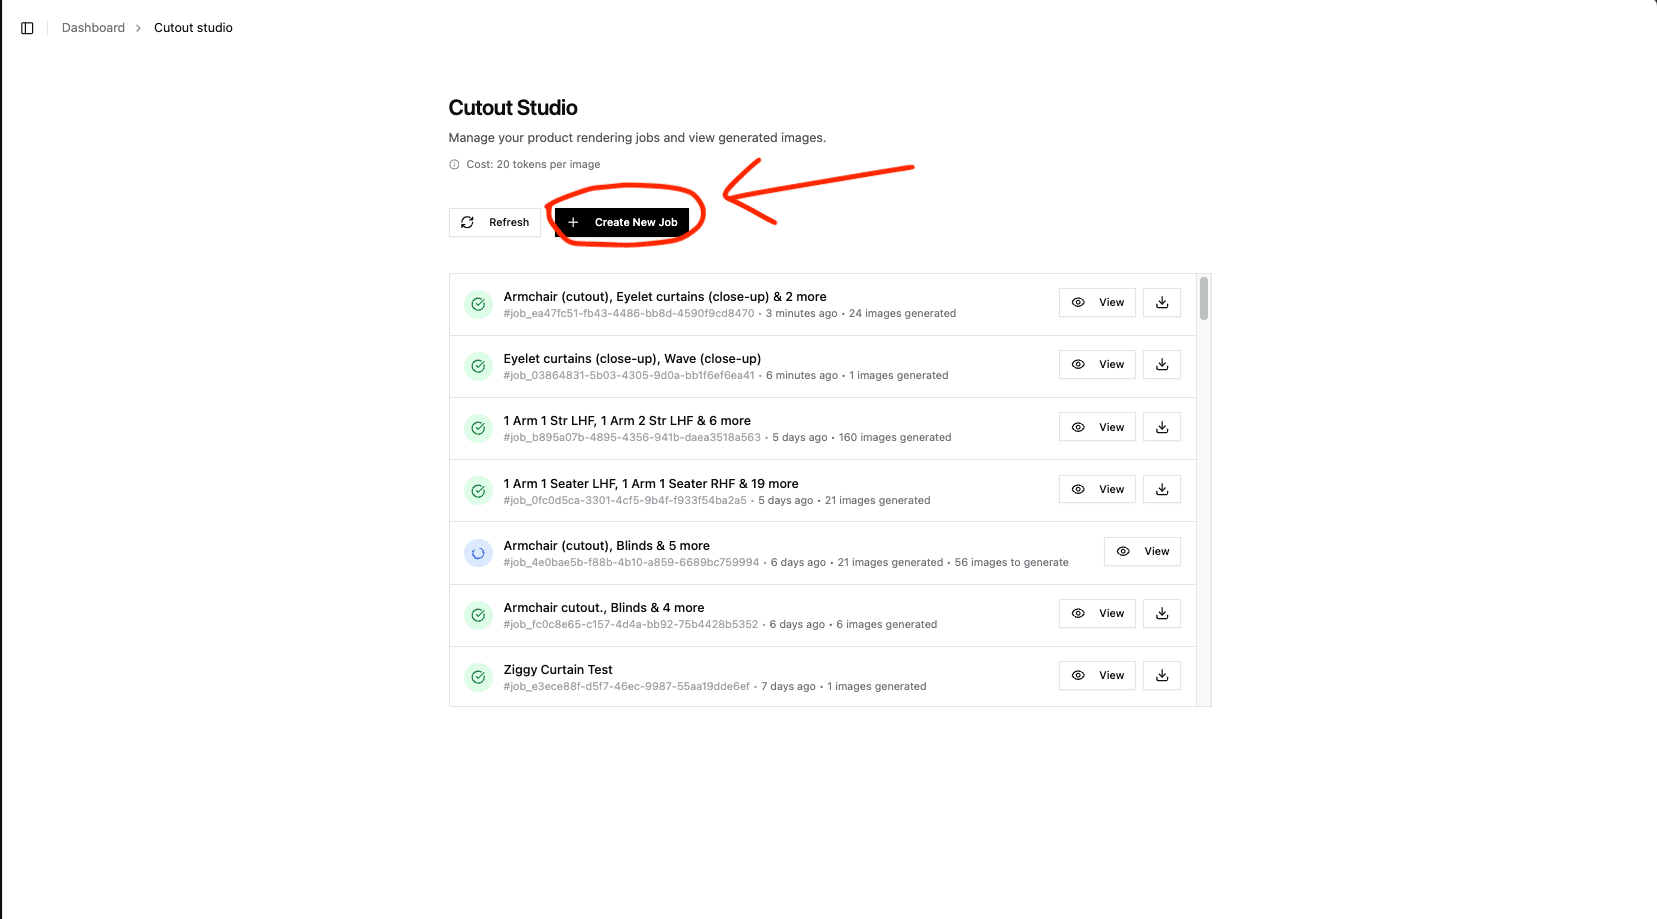
Step 2: Create New Job
Click Create New Job to start a new rendering project. You will be asked which type of job you want to create — choose Create Material Shot Job.
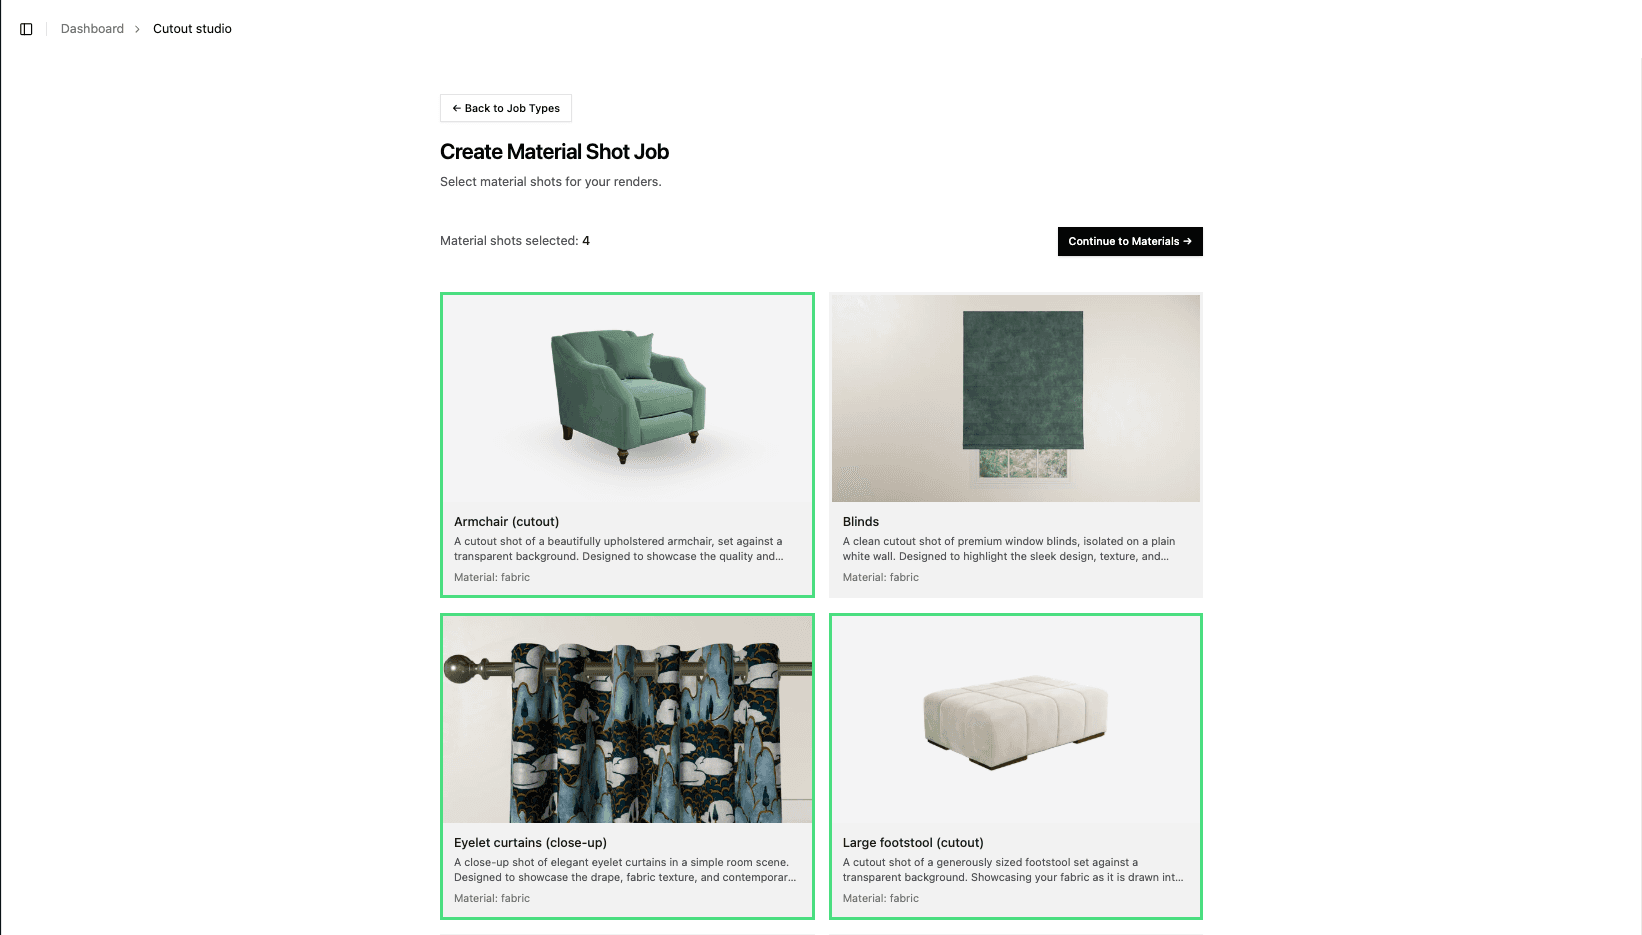
Step 3: Select Material Shots
Select the material shots that you want to render your material onto. Ensure you have purchased material shots first then click the black Continue to Materials button.
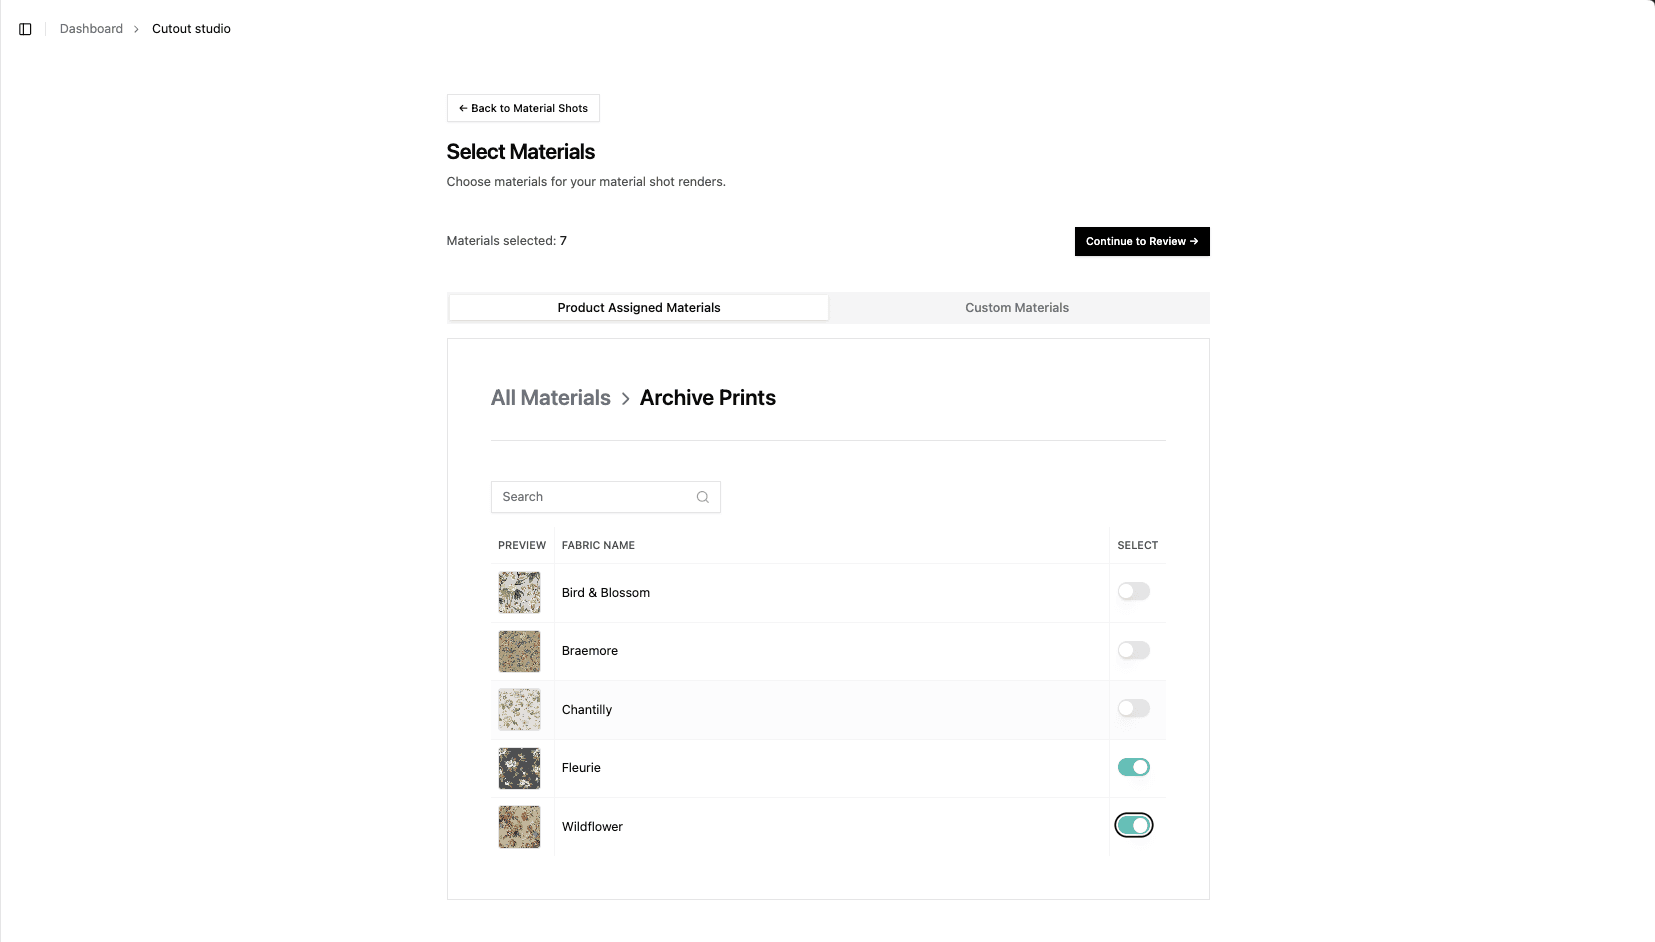
Step 4: Select Your Materials
First ensure you have uploaded and built your materials. They will show in the table here, either select a full range or individual fabrics using the switch on the right hand side of the table. When you have selected all of your materials, click the black Continue to Review button.
Step 5: Review Your Render
You will be able to see a summary of your render including:
- The scenes selected
- Materials chosen
- Total images to be generated
- Total token cost for this render
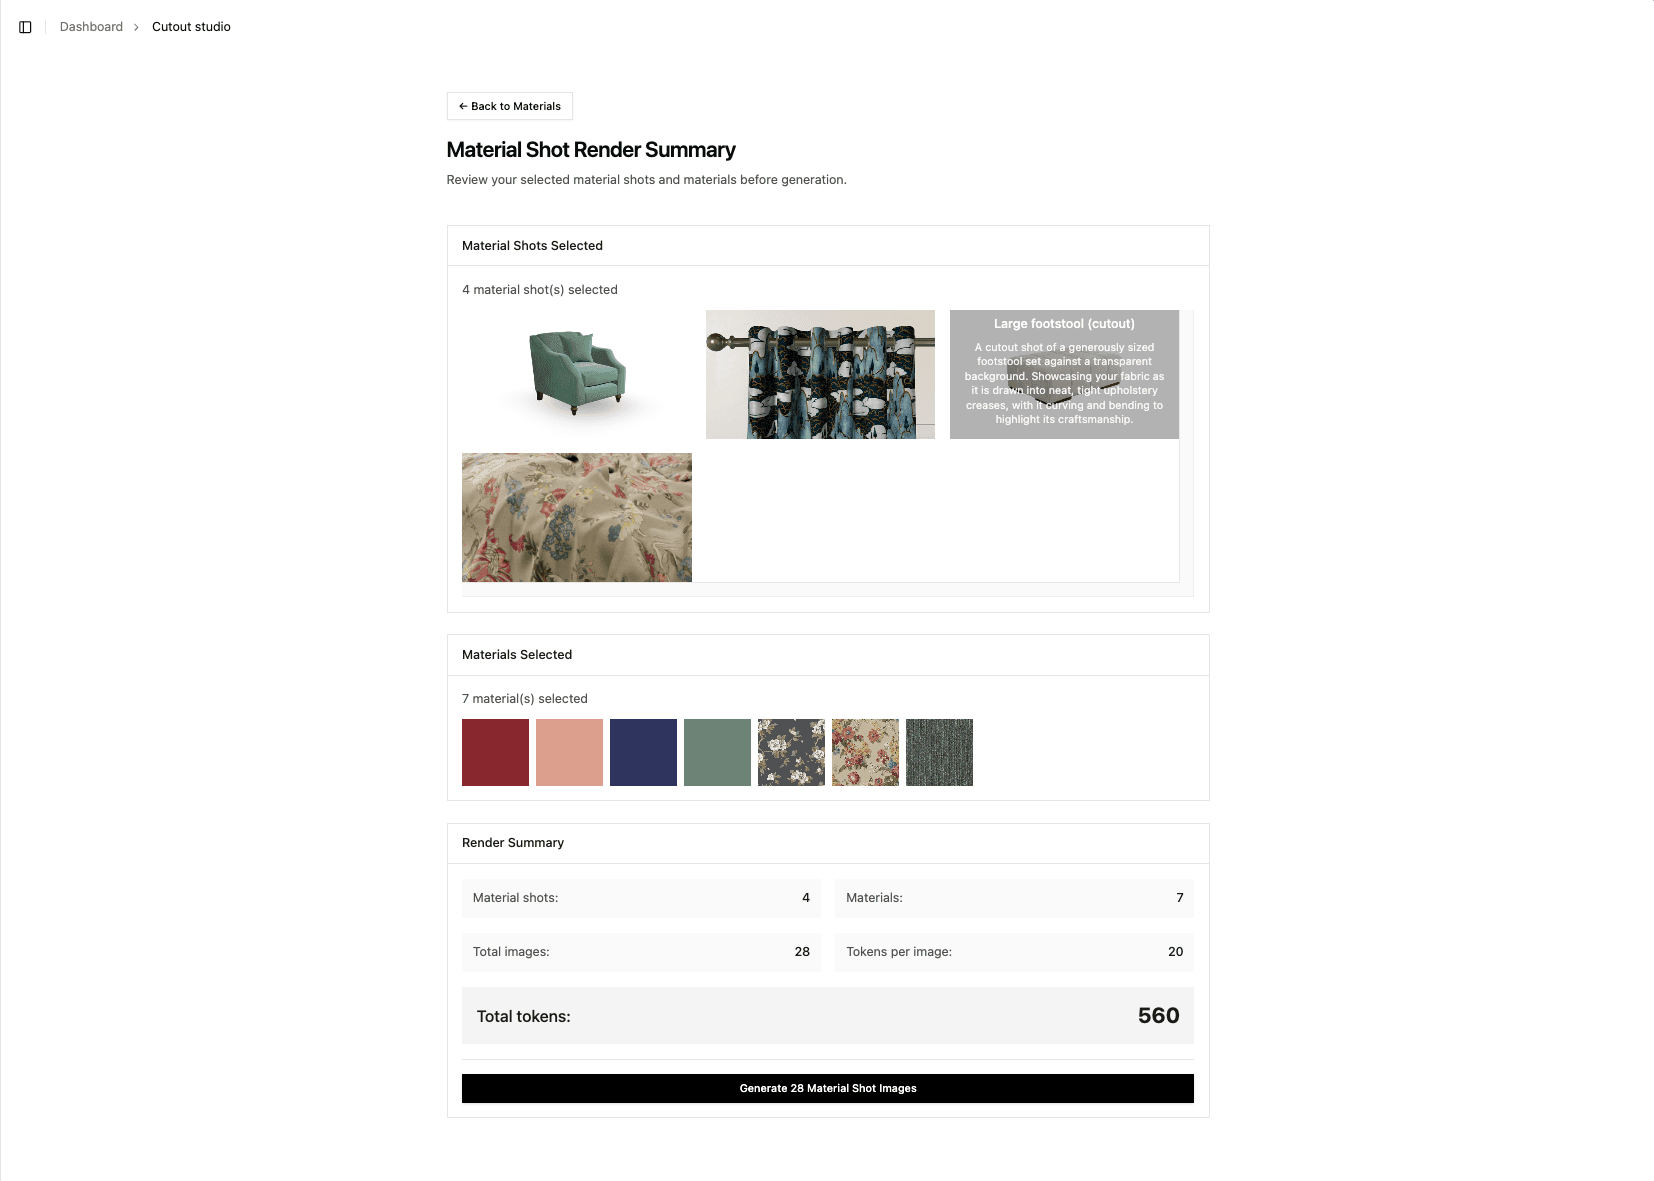
** If you are happy with the configuration, click Generate images at the bottom..
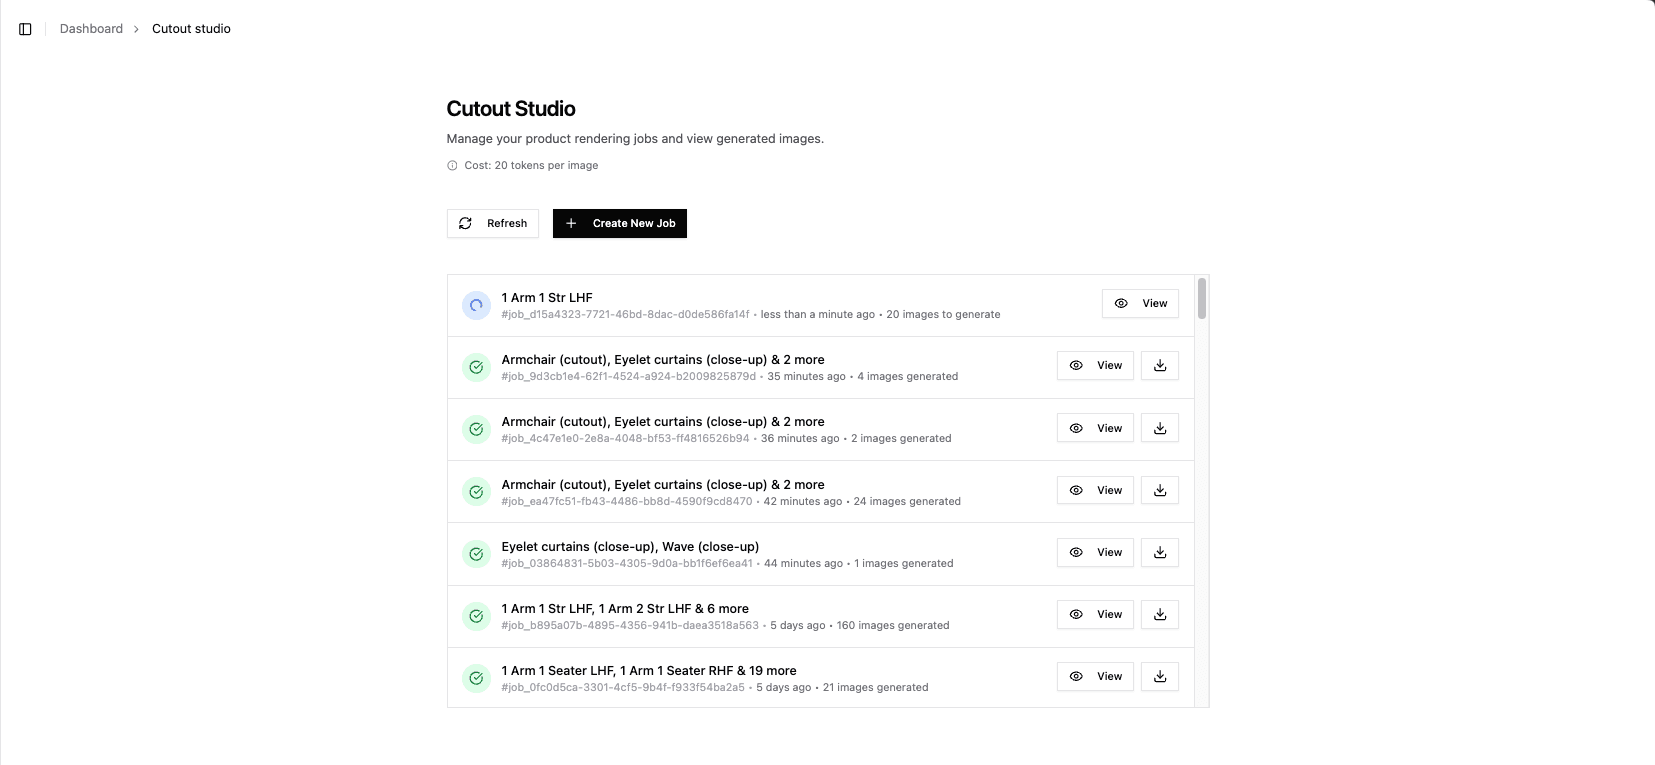
Step 6: Monitor Your Job
You will be taken back to the cutout studio page where you can see a job list, each job will have one of the following states:
- Pending ⏳: Job is queued and waiting to start
- Processing 🔄: Job is actively rendering (turns blue)
- Awaiting Review 👀: Renders are complete and ready for review
⏳ Your job will start in the Pending state:
Depending on how many jobs are ahead of yours in the queue, it could take some time for your job to begin. When your job has started it will change to the blue processing state.

🔄 The Processing state:
Jobs will take different amounts of time depending on how many images are to be rendered, after a few minuites you should start to see some images come through. When all of the images have completed rendering, the job state will change to awaiting review:

👀 The Awaiting Review state:
During the awaiting review state, you will be able to set the job to complete, or re-render images.

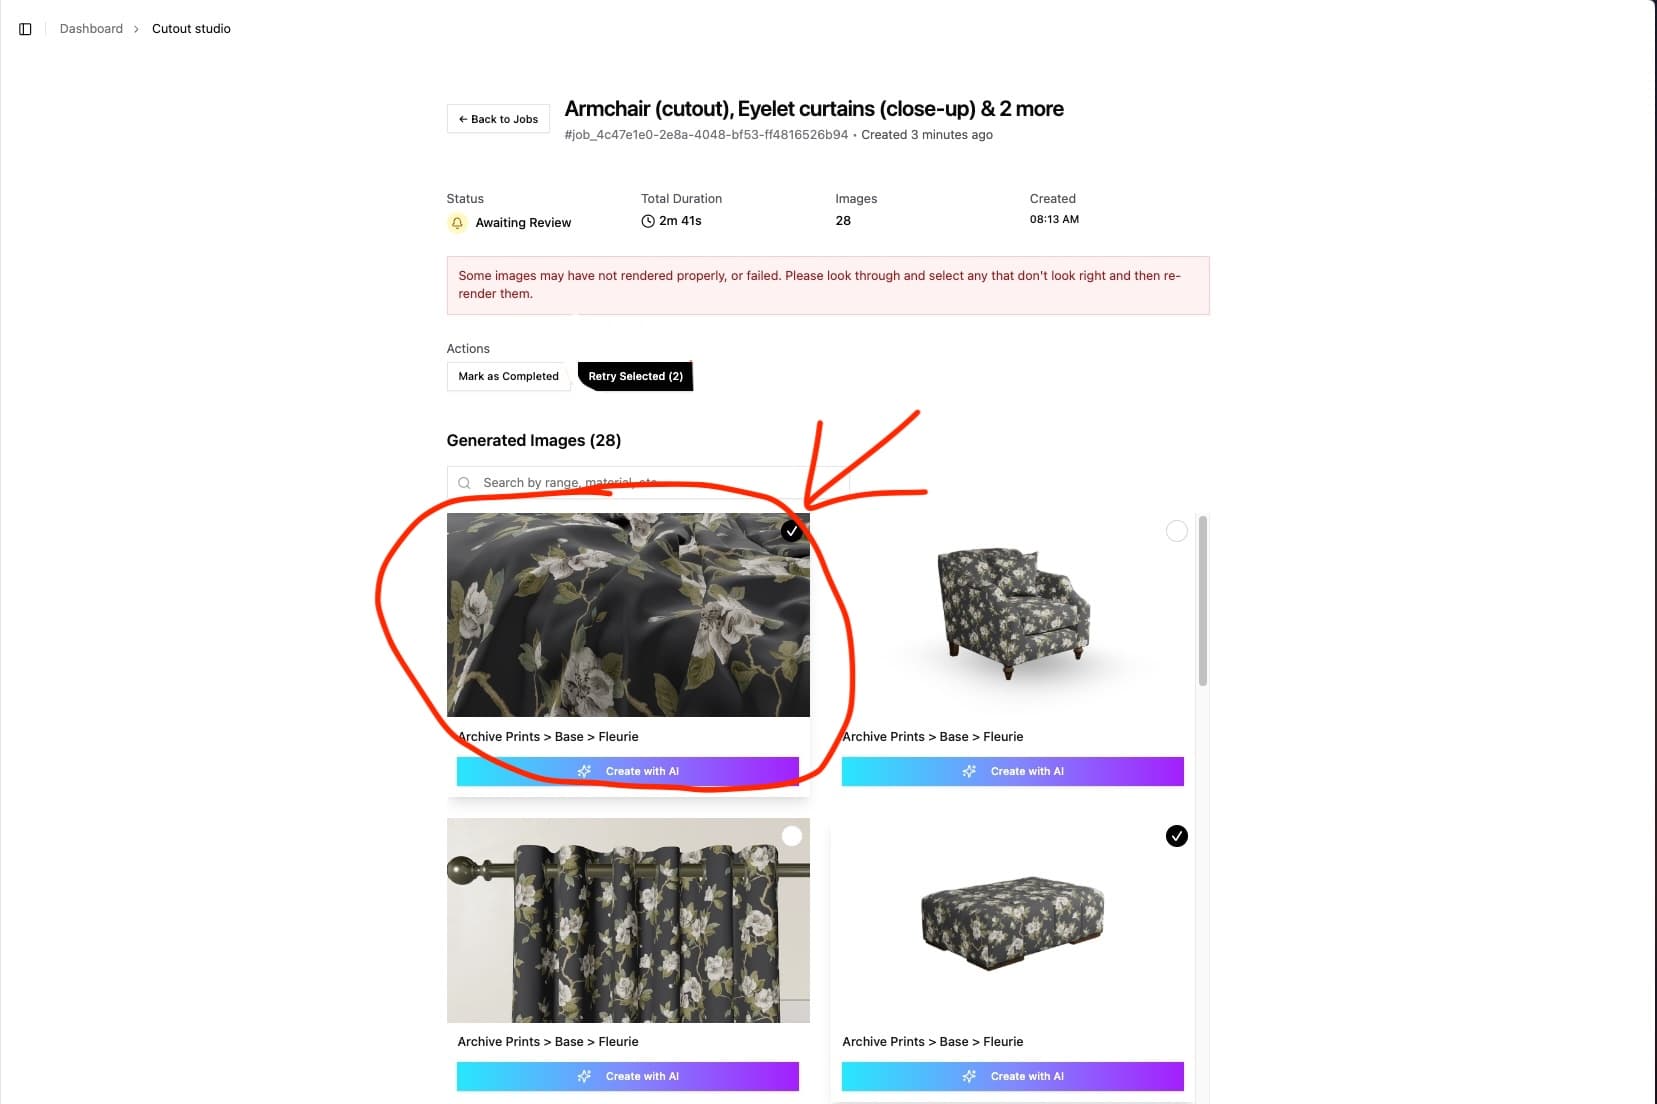
Rendered images could have issues such as:
-
A material or fabric missing on a mesh, this will appear as a shiny white material in place of what was expected
-
Other rendering issues such as a missing image or blank screen
This is unlikley but can happen from time to time. When this occurs, simply click the failed render to select it:
Then you can click the retry selected action:
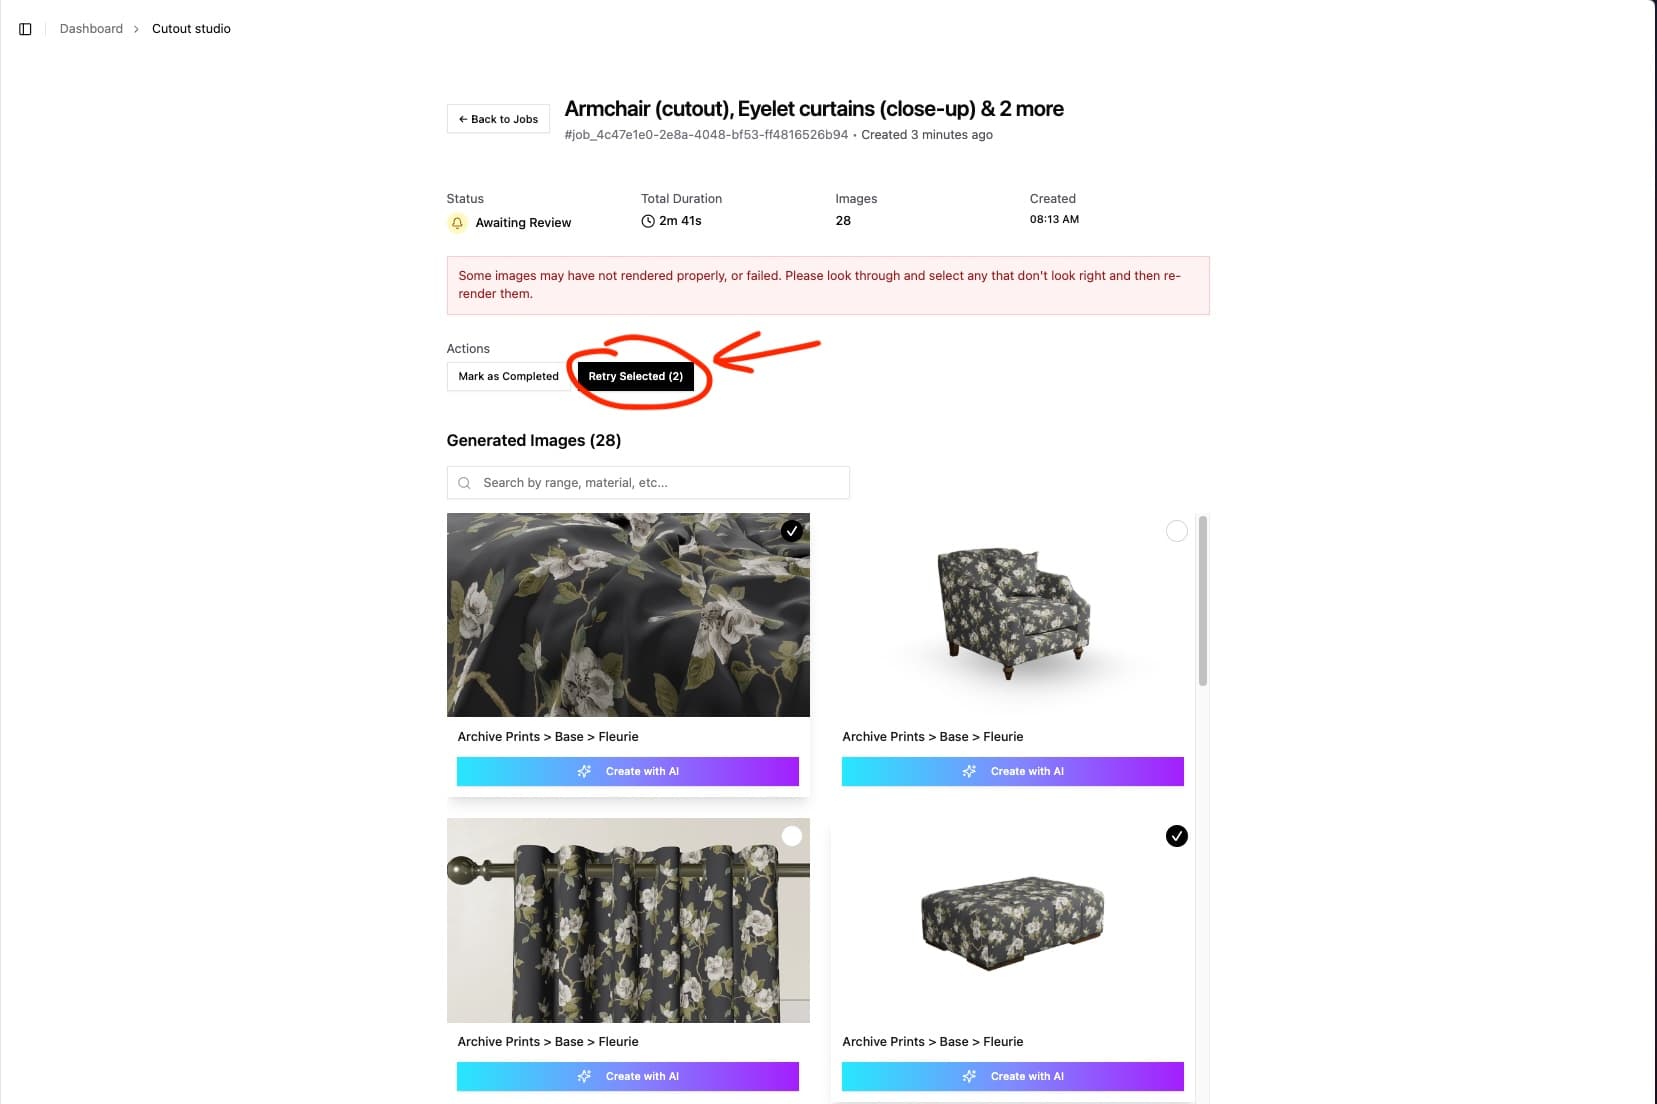
This will put the job back into the pending state, and will re-render those selected images as if you had put a fresh job on.
✅ Mark as completed
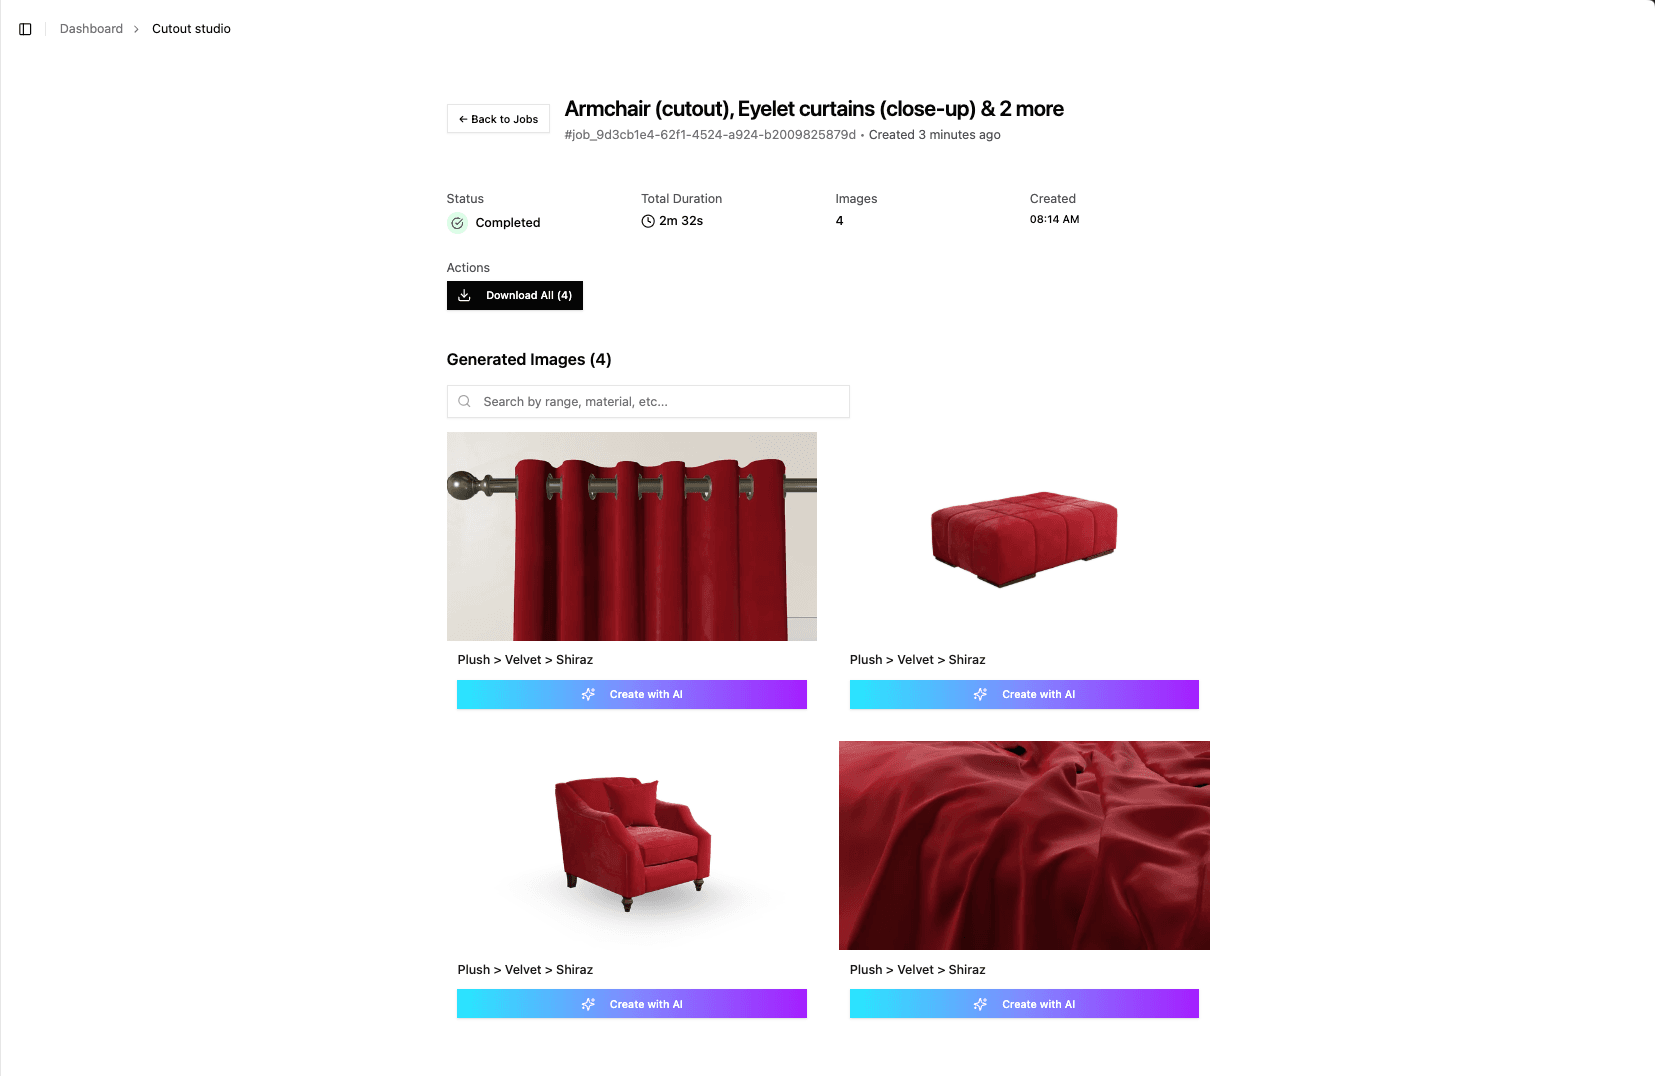
Once you are happy with all of the renders, select the mark job as completed action to gain access to the full HD renders. You will no longer be able to re-render images.
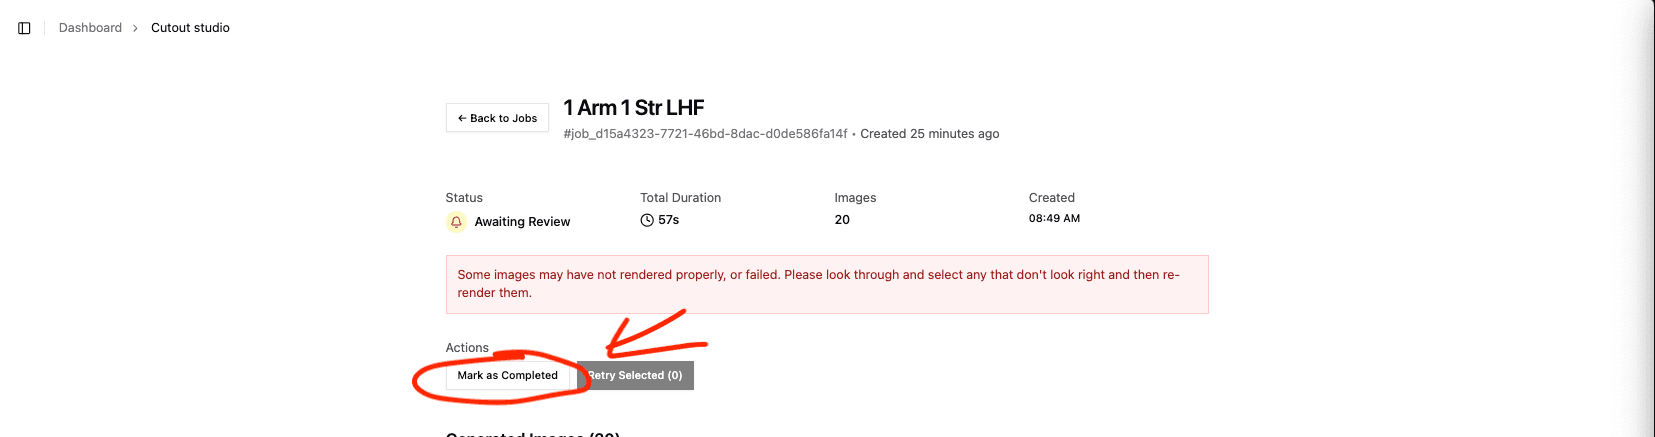
Your job will be marked as completed in green in the jobs list and you can now download your renders from the job details page:
Great, you're good to go with your material imagery and can move on to getting creative in AI