Full Tour
Complete guide to every feature and setting in the AI Image Generation Tool.
🎨 Overview
The AI Image Generation Tool is a powerful interface that enables you to create and transform product images using state-of-the-art artificial intelligence models. Whether you're creating lifestyle imagery, generating marketing materials, or exploring creative possibilities, this tool provides everything you need to generate professional-quality visual content for your retail business.
Key capabilities include:
- 🖼️ Image-to-Image Transformation: Use product cutouts or other images as a base and transform them with AI
- 🎬 Video Generation: Convert static product images into dynamic video content
The tool operates on a token-based system, allowing you to control your usage and costs transparently. Each generation consumes tokens based on the model and settings, with costs displayed before generation. Tokens can be purchased here.
🚀 Getting Started - Interface Layout
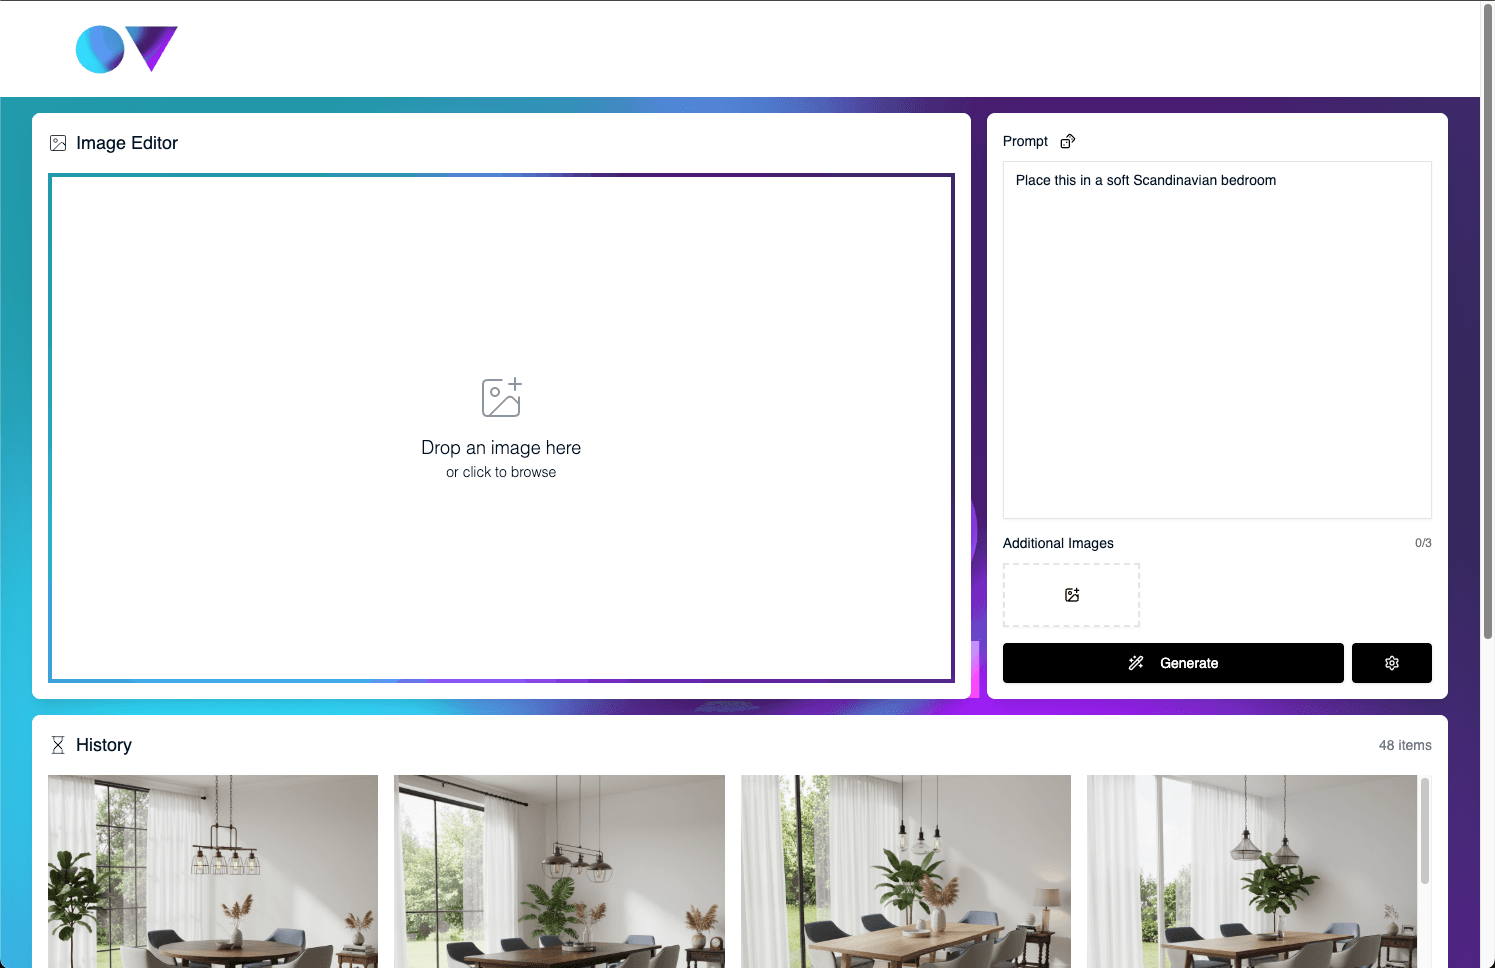
The AI Image Generation Tool interface is organized into two main sections:
⚙️ Left: Settings Panel - This is where your source images appear, and where you configure your generation parameters, write prompts, choose AI model, and start generation.
📚 Right: History Gallery - A scrollable gallery showing all your previous generations, both images and videos. On mobile it appears as a drawer at the bottom of the screen.
🖼️ Source Images
The source images area at the top of the settings panel is where you load and prepare product images for AI generation. It has a main image slot, plus additional reference image slots. Supports all common image formats (JPG, PNG, WebP, etc.).
Loading Images: There are two ways to load images:
- Click to Browse - Click an empty image slot to open the Image Browser modal.
- Drag and Drop - Drag an image file from your computer and drop it directly onto a slot.
Controls:
- Hover an image and click the X button to clear that slot.
- Click Reset in the source images header to clear all loaded images at once.
🗂️ Image Browser Modal
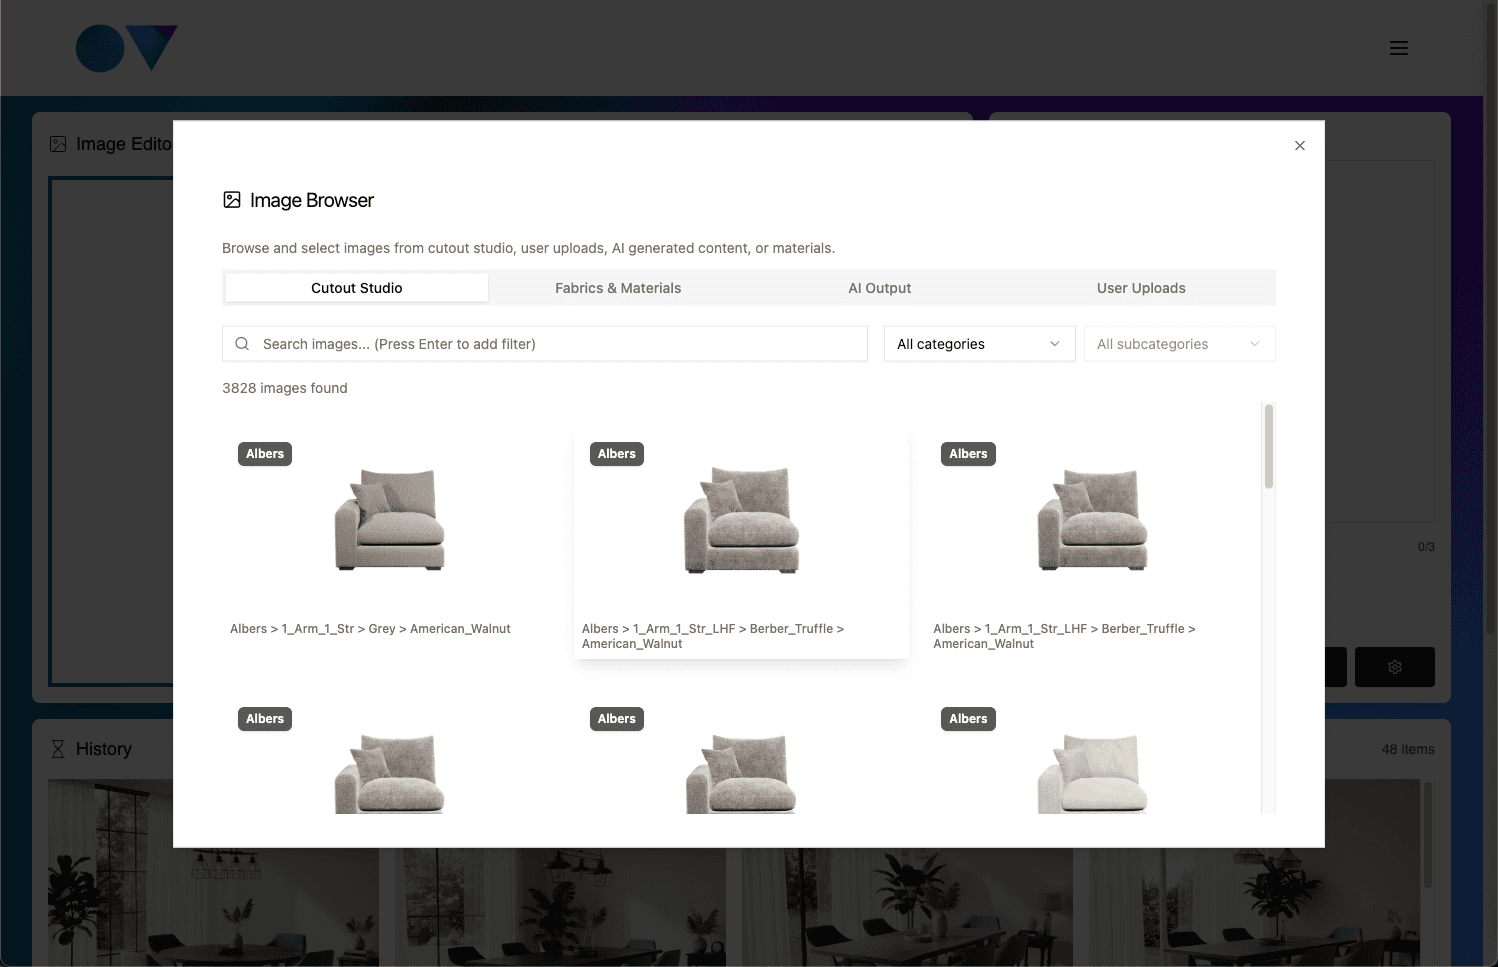
Open the Image Browser by clicking an empty image slot.
Media Tabs: There are four tabs in the Image Browser:
- My Uploads - Your manually uploaded images. Drop images into the upload area or click it to browse your computer.
- AI Output - Previously generated AI images, making it easy to iterate on past generations
- Fabrics & Materials - Fabric and material images from your material library.
- Cutout Studio - Background-removed product images from Cutout Studio. Perfect for compositing and AI generation.
⚙️ Settings Panel
The Settings Panel is your control center for configuring AI generation parameters. It adapts based on the selected model, showing only relevant options.
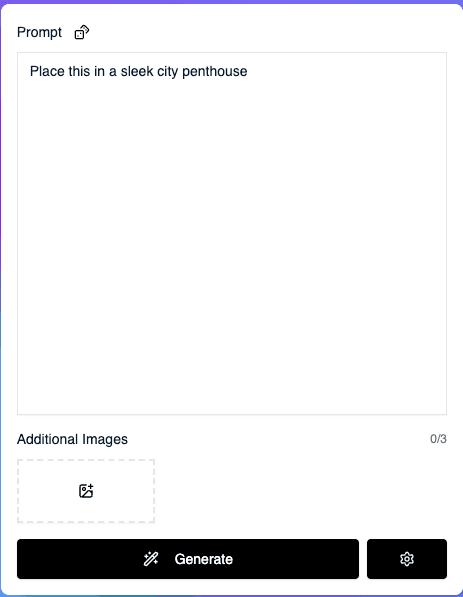
Prompt: The large text area at the top is where you describe the transformation or image you want to create. It has a 2500 character limit. Be specific and descriptive, including details about setting, style, mood, lighting, and composition. Click the help icon next to the prompt label for prompt writing tips, or click the sparkles icon to have AI write a full prompt from a short description. For example and inspiration see the Example Uses page.
Additional Reference Images: Add up to 3 additional reference images to guide the AI's style, composition, or aesthetic. Great for retailers to maintain consistent styling, reference color palettes for seasonal campaigns, or guide the AI with examples of desired photography style. This uses the same Image Browser as standard image selection.
Generate Button: The main action button starts your AI generation. It shows "Generate" or "Generate Video" based on selected model, along with the token cost, and is disabled if no prompt is entered.
Settings: Generation settings are shown directly in the panel, above the Generate button.
⚙️ Generation Settings
 Model Selection (Type): Choose from multiple AI models. Settings will change based on your selected model:
- Image - Generates images from prompts, with optional product images as input. Supports up to 3 additional reference images for style guidance.
- Video - Creates video content from a static product image plus prompt. Cost calculated per second of video duration. Mode lets you choose New (a fresh video), Extend (continue a previous 720p video), or Jump (animate between a first and last frame).
Aspect Ratios: Choose from seven aspect ratios: 3:2, 4:3, or 16:9 (landscape, widescreen), 1:1 (square, Instagram feed), or 2:3, 3:4, or 9:16 (portrait, Instagram Stories, TikTok). Note that the Video model only supports 16:9 and 9:16.
Resolution: For the Image model, choose 1K, 2K, or 4K output - higher resolutions cost more tokens. For the Video model, choose 720p, 1080p, or 4K - 1080p and 4K videos are always 8s long.
Batch Size / Count (Image model only): Generate multiple variations (1, 2, 4, or 6 images) in a single generation. Token cost multiplies by batch size. Start with batch size 1 to test prompts, then increase for variations.
Video Duration (Video model only): Select video length (4s, 6s, or 8s at 720p). Start with shorter durations for testing, increase when satisfied.
📚 History Gallery
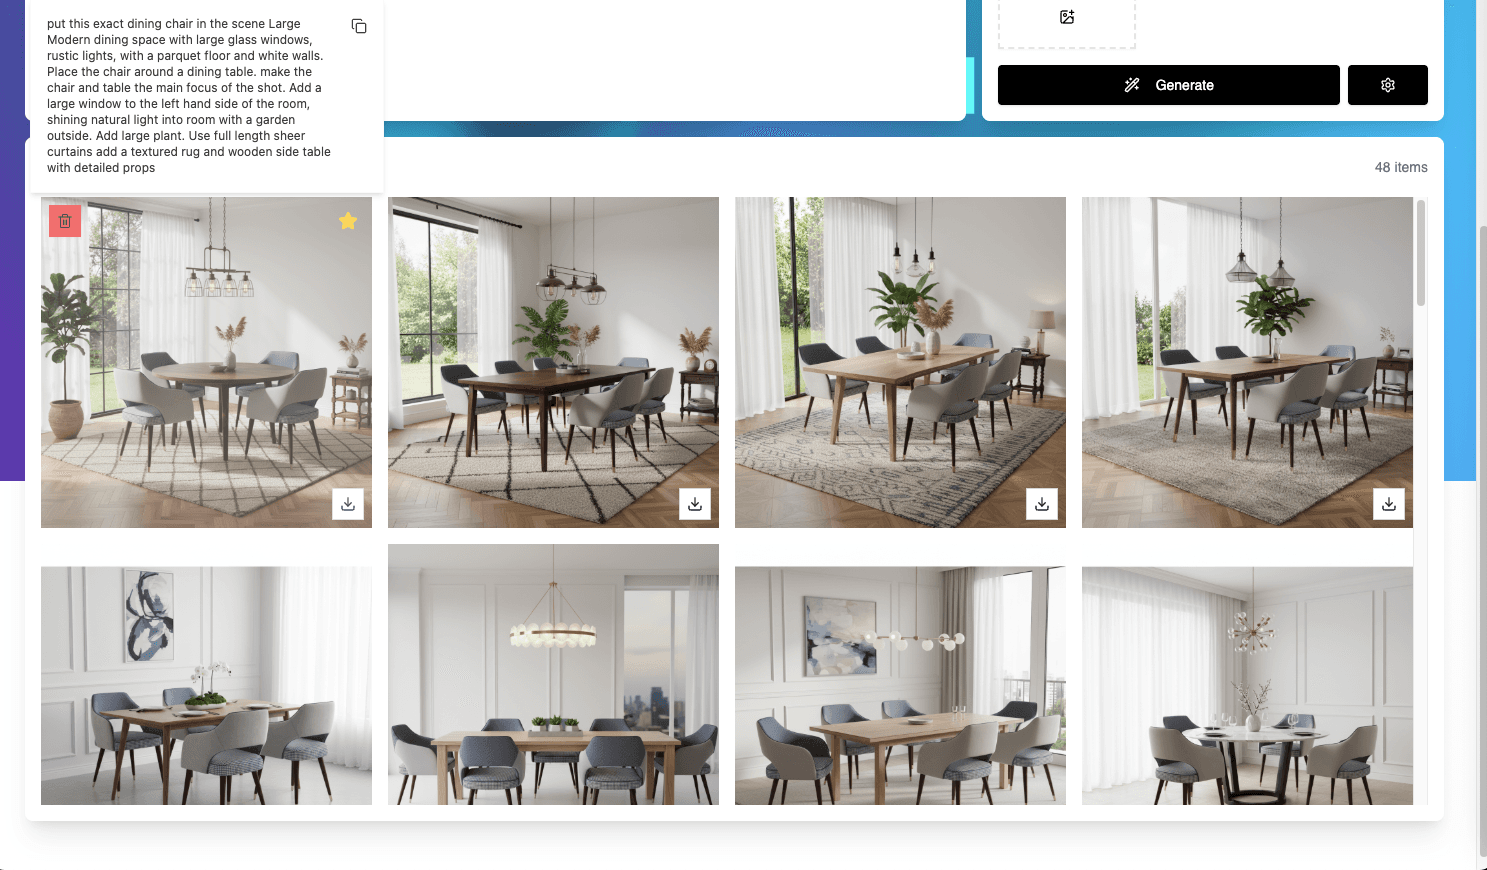
The History Gallery is where all AI-generated content appears. If a generation is still in progress, it will appear with a loading spinner.
Once a generation has completed you will see a thumbnail of the generated image. Hovering the image will show the prompt used for the generation.
Hovering will also show buttons to download, delete or favourite the image. Use the star filter at the top of the gallery to show only your favourites.
Clicking the image will show it fullscreen, with options to download the image or use it for further generation.
💡 Tips & Best Practices for Retailers
Writing Effective Prompts: Be specific and descriptive. Instead of "nice product" try "this sofa in a modern living room with natural window lighting, contemporary furniture, plants, wooden floors, professional interior photography style." Mention key elements like style (realistic, artistic, photographic), mood (elegant, casual, luxurious), lighting (soft, dramatic, natural), setting (living room, bedroom, office), and intended use (website, social media, email campaign). Use the AI prompt writer (sparkles icon) for inspiration, and learn from history by hovering over successful generations to see and copy prompts that worked well.
Optimizing Token Usage: Start small with batch size 1 to test prompts and settings, then increase for variations once satisfied. Test video durations with 4-second clips first, then increase to 6s or 8s for final versions. Monitor your balance and plan generations accordingly - purchase tokens in advance during larger marketing campaigns.
Reference Images: Use reference images with similar styles to maintain brand consistency across marketing materials. Maximum of 3 additional images - choose the most representative examples.
🎯 Next Steps
Now that you've completed the full tour, you're ready to start creating with the AI Image Generation Tool. Here are some suggested next steps:
- ✍️ Experiment with Prompts: Experiment with the AI prompt writer and modify prompts to see how changes affect results
- 📚 Build a Library: Favourite generations for reference later and build on your best work
- 💡 Check Example Uses: See the Example Uses page for creative applications and inspiration
- ✂️ Create Cutouts First: Use Cutout Studio to prepare clean product images before AI generation
Happy creating! 🎨